This short guide explains step-by-step how to check and install the latest software on your AVR. It uses the remote control and on-screen menu so you can manage the process from the unit itself.
First, power on the unit and press the Setup button on the remote control. Navigate to General, then select Firmware and pick Check for Update.
If the latest firmware is present, the page will show: “No update required. Latest version installed.” If an update is needed, follow the on-screen prompts. The process can take about one hour. Do not cut power while the unit installs the software; normal surround playback and control are unavailable during this time.
In this guide you’ll find clear answers about the menu locations, confirmation messages, and safety steps to protect the unit. Expect quick recovery tips if something goes wrong, and brief notes on older methods for legacy models.
Before You Update: Requirements, Power, and Network
Verify a solid connection and steady power so the system can complete the full install cycle. A stable online connection is required for downloads and server checks. Confirm the unit is on a reliable mains supply and avoid starting during storms or heavy house loads.
Internet connection and system requirements
Set the network to wired or strong Wi‑Fi. Ensure Allow Update is set to On in the setup menu so update-related items appear. If that setting is off, options like Time Zone may be disabled and updates will not proceed.
The process can take about one hour and normal control is locked while the unit installs files. Do not cut power during this time; loss of power can corrupt data or reset parameters.
If an update fails, press and hold the main unit power for more than 5 seconds or unplug and reinsert the power cord. After roughly 60 seconds the screen may show a “Please wait” message and the install will try again. If problems continue, check the network environment before repeating the procedure.

How To Update Your Marantz Cinema Receiver Firmware
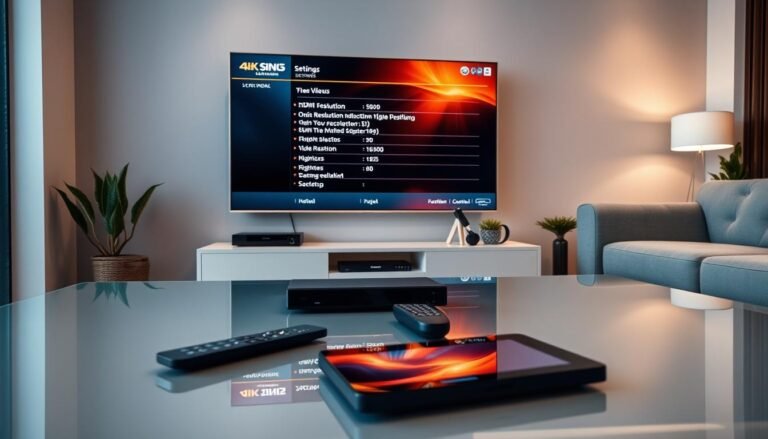
Activate the setup screen with the remote control‘s Setup button, then open General. From there, select Firmware and pick Check for Update to see if a package is available for the unit.
The check confirms whether the latest firmware is released. If none is needed, the screen will report “No update required. Latest version installed.” If a package exists, choose Update Now to begin or Update Later to defer.

Selecting Update Now closes the menu and shows progress on the front display. Normal control and surround playback pause while files download and install. The process can take up to about one hour, so avoid pressing buttons or cutting power during this time.
- Use Update Later if your connection is weak; the unit will retry automatically.
- Enable Auto-Update for installs in standby mode without interrupting listening sessions.
- Keep Allow Update set On; switching it off blocks update functions and may affect HEOS app compatibility.
- Set the correct Time Zone so scheduled installs align with local time; this option is locked if Allow Update is Off.
| Option | Effect | When to Use |
|---|---|---|
| Check for Update | Verifies availability of firmware | Before running install |
| Update Now | Starts download and install; screen closes | When connection is stable |
| Update Later | Defers process; automatic retry on failure | When you need immediate control |
| Auto-Update | Installs in standby mode | For hands-free maintenance |
If an error appears, note the prompt, confirm the network connection, then run Check for Update again. If the unit becomes unresponsive, press and hold the main power for five seconds and retry.
Troubleshooting Update Errors and Alternative Paths
Seeing an error need not cause panic. Read any on-screen message and follow its guidance before pressing buttons or using the remote. That prevents accidental interruptions during critical write cycles.
Understanding on-screen alerts
If a dialog appears, note its text and the page code. Treat the prompt as an instruction. Many errors point to network or power issues rather than a failed flash.
Immediate recovery steps
First, press and hold the main power for more than five seconds. This forces a controlled reset and often resumes the installer.
When “Please wait” appears
If a power-cycle is needed, remove and reinsert the cord. After about one minute the screen should show “Please wait” and the updating process usually restarts.

Network checks and legacy methods
If errors persist, test a different Ethernet run or move closer to the Wi‑Fi box, then retry the update page. For older models, a manual path uses an RS-232C cable and service disc. Service tools set baud rate at 38400 and report a connection dialog like “Success to connect.” Mode 1 writes DSP flash; Mode 2 writes CPU flash. Manual flashing is advanced and carries risk, so use it only with correct images and instructions.
| Problem | Quick action | When to use |
|---|---|---|
| On-screen error | Read dialog, hold main power 5+ sec | Any install stall |
| No restart | Unplug, wait 60s, reinsert | Unit frozen, no progress |
| Network fail | Switch cable/router, retry page | Repeated connection errors |
| Legacy need | RS-232C cable + service disc and PC | Old models only (service mode) |
Conclusion
Finish by confirming the install status from the setup screen with a quick check. Press the Setup button on the remote control, open General > Firmware, then run Check for Update. The page will report “No update required. Latest version installed” when the unit is current.
Keep Allow Update set to On and enable Auto-Update mode if you want installs in standby. That minimizes downtime and preserves surround performance while keeping future updates automatic.
If a dialog appears or the installer stalls, follow the recovery steps: watch prompts, confirm network and power, then retry the check. After any cycle, rerun the check so you have a clear answer and the unit is ready for use.
FAQ
What are the network and system requirements for a firmware update?
Ensure the unit is connected to a stable broadband connection via Ethernet or reliable Wi‑Fi. Have the latest remote control batteries, the model number available, and enough time (some updates take up to an hour). Disable VPNs or firewalls that block outbound connections and confirm the receiver shows a valid IP address in the network settings.
Do I need to keep the unit powered during the process?
Yes. Keep the main power on and avoid unplugging the unit while updating. Loss of power can corrupt the system. Allow the update routine to finish — many models advise leaving the receiver on for at least 30–60 minutes depending on the package size.
How do I open the setup menu using the remote control?
Press the Setup button on the remote while the receiver is in normal operation mode. The on‑screen menu appears; use the cursor keys to move to General, then select the firmware or system update section.
Where do I find Check for Update in the menu?
From the Setup screen navigate to General › Firmware › Check for Update. The receiver will query Marantz servers and display whether a newer software version is available.
What happens when I select Update Now?
Selecting Update Now begins the download and install. Watch the on‑screen progress and status messages. Do not power off the unit or press other buttons while the update runs. The display may show progress bars, update rates, and time remaining in seconds.
Can I choose Update Later?
Yes. Update Later lets you defer installation. The receiver will often remind you again or attempt an auto‑install during standby if Auto‑Update is enabled.
What is Auto‑Update and how does it work?
Auto‑Update lets the receiver download and install updates while in standby, so installs occur without interrupting use. Enable Auto‑Update in the firmware menu; keep the unit plugged into mains and networked for scheduled installs.
Do settings like Allow Update and Time Zone affect the install?
Some models include an Allow Update toggle and a Time Zone setting that control when downloads or automatic installs occur. Enable Allow Update and set the correct time zone so scheduled or standby installs run at expected local times.
What does an on‑screen “Update Error” message mean?
“Update Error” can mean network interruption, a corrupted download, or incompatible files. Note any error code shown, check the network connection, and retry Check for Update. If the message persists, follow troubleshooting steps below.
What should I do if the update fails?
First retry the update after confirming network stability. If it still fails, perform a hard reset by long‑pressing the main unit power button for about 5 seconds to reboot the unit, then attempt the update again.
What if the screen displays “Please wait” and the update restarts repeatedly?
Repeated “Please wait” loops indicate a stalled install. Keep the unit powered, allow several minutes, then reboot the receiver via long‑press power. If loops continue, disconnect network, reinstall firmware manually if supported, or contact authorized support.
How can I check the network when update errors continue?
Verify the receiver’s IP, confirm internet access from another device, restart the router, and try an Ethernet cable instead of Wi‑Fi. Also ensure DNS is functioning and that the router isn’t blocking Marantz servers.
Are there legacy manual update options like RS‑232C or disc?
Some older units support manual updates via RS‑232C serial cable or a service update disc/USB (check your model’s manual). Manual installs require downloading the correct file from the official support page and following the manufacturer’s instructions precisely.
What if I see error codes during a manual update with a cable or disc?
Record the exact code and message, power‑cycle the unit, and retry the manual procedure. If errors persist, contact Marantz authorized service with the code and model information for professional assistance.