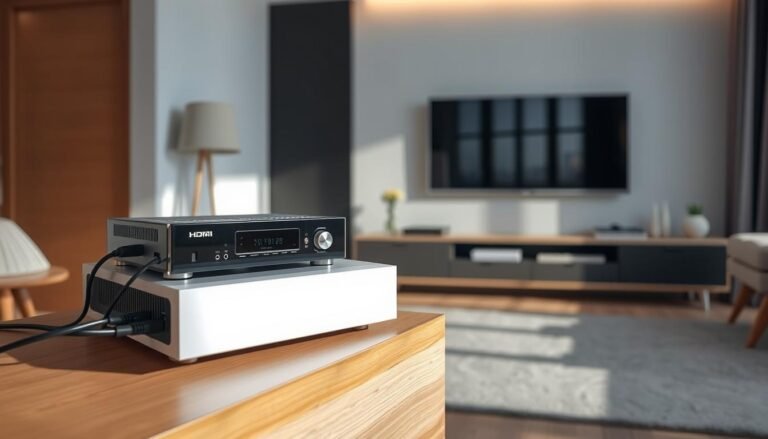
Quick overview: The receiver’s OSD, or on-screen display, shows setup pages, status information and volume banners. It helps you adjust sound, speaker levels and settings from the couch.
Typical behavior: That overlay usually appears only when the TV displays the receiver’s HDMI video output. If the set runs a streaming app or the home screen, the overlay often stays hidden.
A common real-world case: a Vizio SmartCast set plays audio through HDMI ARC from an Onkyo TX-NR676, yet the receiver’s display never appears for volume or mode control. You hear audio, but the display stays blank.
What causes this? Most often it’s an input routing issue or an HDMI handshake/format mismatch that blocks overlays. It doesn’t mean the receiver is broken. The set may be on a different input, or the receiver may be in a mode that disables the OSD.
What we’ll do next: First confirm video source (apps versus HDMI input), then try quick HDMI and remote fixes, and finally handle 4K/HDR edge cases that block status overlays. The aim: restore the display and regain control of volume, sound modes and speaker trims without guesswork.
Why is my receiver’s on-screen menu not showing on my 4K TV?
If the television is creating the picture, the AVR cannot paint its own overlay over that image.
Smart TV apps and the built-in tuner bypass the receiver’s video path. Services like Netflix or the set’s tuner generate the picture inside the screen. That means pressing the receiver setup or menu buttons will not draw anything, even though audio may still route through ARC.
To make the unit show its overlay, switch the TV’s input to the HDMI port tied to the receiver’s HDMI output. Use the TV input/source list and pick the correct HDMI jack rather than staying on the TV home or streaming app.
ARC (or eARC) carries audio back to the receiver but does not let the unit add video overlays to TV-native apps. Think of ARC as a return line for sound; the receiver can control audio but only shows on-screen info when its video output feeds the screen.
Many units show status only when a compatible HDMI video signal passes through. Once the TV is set to the proper HDMI input, most missing display problems clear up with a few quick input, HDMI, and remote checks.
Quick fixes to get the receiver menu back on-screen (HDMI, input, and remote control)
The fastest fixes target input routing, HDMI links, and the remote before deeper steps.

Fast-path checklist
- Switch the TV input to the HDMI jack tied to the receiver’s HDMI OUT. Confirm you are not on the set’s home app screen.
- Select a live source on the receiver—Blu‑ray, cable box, or streaming stick—so a video signal passes through.
- Press the SETUP or MENU button on the remote control and watch the front-panel display as you press. If the unit shows setup but the screen stays blank, the output or format is the problem.
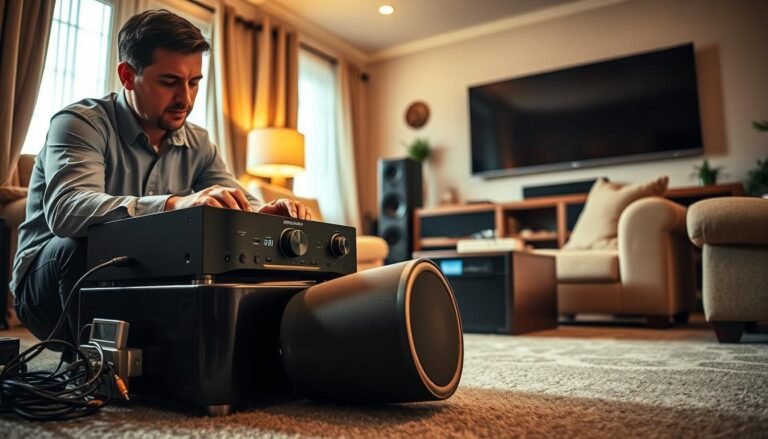
HDMI, cable and handshake
Reseat both ends of the hdmi cable and try a different port. Use a known-good high-speed cable to rule out poor cable quality.
If problems persist, power-cycle in order: TV off → receiver off → unplug briefly → power the TV on first, then the receiver. This refreshes HDMI negotiation.
Settings and isolation tests
Disable Pure Direct or any “direct” playback mode that hides on-screen status. Switch sound mode to allow overlays and check volume banners.
In receiver setup, set the HDMI output or TV Format to a 4K-compatible option. For isolation, connect a source directly to the screen to confirm the port works, then route through the receiver to pinpoint failure.
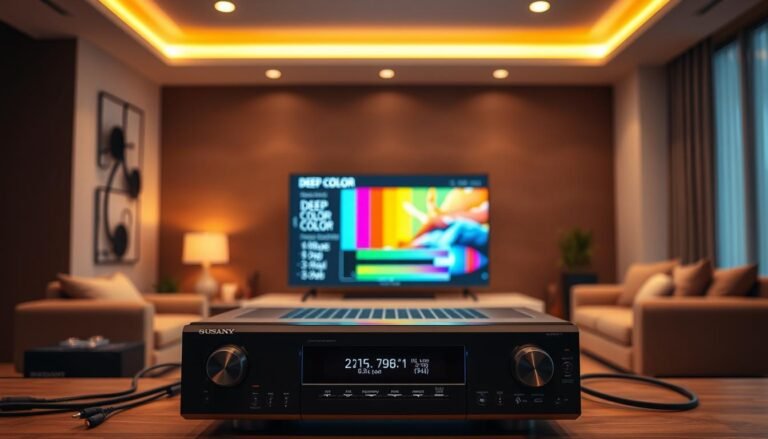
When 4K/HDR or unusual video signals prevent the menu and status information
Nonstandard video timing or HDR processing often blocks the on-screen information layer the receiver uses for volume and format banners.
Even with correct HDMI wiring, certain video and input signals can stop the receiver from drawing status information. This happens most with HDR formats and other nonstandard modes.
Known problematic categories include:
- Some HDR streams that use metadata formats the receiver cannot overlay.
- 3D content or when the set converts 2D to 3D.
- PC-resolution outputs (for example, VGA-style timings) and odd aspect ratios beyond 16:9 or 4:3.

| Problem | Quick fix | Test step |
|---|---|---|
| HDR output | Temporarily set player/box to SDR | Play same file and check overlays |
| 3D or 2D→3D conversion | Disable conversion on the set | Use a standard movie file or DVD |
| PC/VGA timing or odd aspect | Change source to 1080p/60 or 2160p/60 | Swap to another HDMI source |
What status information covers: volume banners, format and resolution readouts, and mode labels. Audio will often continue while that layer is missing.
After you confirm cables and inputs in the prior section, format-related issues are the next likely cause to isolate and fix.
Conclusion
Key takeaway: The receiver displays overlays only when the screen uses the unit’s HDMI output path. Streaming apps, the set’s home screen, or the built-in tuner usually block that overlay layer.
Do this in order: pick the correct input, select an active source device at the receiver, press the setup/button, and watch the receiver panel for confirmation. If the overlay still does not appear, use the unit’s front-panel display or app to control sound and settings.
Quick reminders: avoid Pure Direct while you need onscreen information, then verify channel and speaker trims once the menu returns. For last-resort steps, check HDMI output and format, swap the cable, and consider a factory reset only after you document current settings and confirm the panel responds to setup commands.
Before you call support: note the receiver and screen models, which HDMI port is used, whether ARC/eARC runs, what device feeds the input, and exactly what happens when you press the menu button. If audio plays but the overlay never appears, the root cause is usually input selection or video handshake—not a loss of core sound function.
FAQ
Smart TV apps and the TV tuner don’t show the receiver’s HDMI overlay menu
Many smart apps and the built-in TV tuner run on the television’s internal processor, so they bypass the receiver’s HDMI path and its on-screen overlay. To see the receiver’s status and setup overlay, switch the TV input to the HDMI port connected to the receiver’s HDMI OUT so the receiver supplies the video stream and OSD.
Confirm the TV is on the receiver’s HDMI input, not the TV “Home” screen
If the TV displays its Home screen, no HDMI signal from the receiver reaches the panel, so the receiver overlay won’t appear. Use the TV remote to change inputs to the exact HDMI port labeled for the receiver, or pick the receiver entry under Inputs/Source. The receiver’s menus appear only when its output is active and a proper handshake exists.
ARC vs. HDMI input confusion and what ARC does (audio return, not video overlay)
HDMI ARC/eARC handles audio return from the TV to the receiver but does not switch video from the receiver to the TV. If the TV is set to the ARC input, you may get sound without the receiver’s picture or OSD. Select the receiver’s direct HDMI OUT input on the TV to restore the video overlay and setup screens.
Switch the TV’s input to the HDMI port connected to the receiver’s HDMI OUT
Confirm the physical port: connect the receiver’s HDMI OUT to the TV HDMI IN. Then use the TV input selector to choose that exact HDMI IN. This ensures the receiver drives the display and its menu overlay will appear when invoked.
Select the correct receiver source/input so a video signal is passing through
On the receiver, choose the source that matches the connected player (Blu-ray, streaming box, game console). If the receiver is on a different input or set to a tuner channel, no external video will pass to the TV and the receiver’s OSD may not show.
Check HDMI cable and connection quality between receiver and TV (handshake issues)
Faulty or low-spec HDMI cables cause HDCP and EDID handshake failures, which block video and OSD. Use a high-speed HDMI 2.0/2.1 cable rated for 4K/HDR, reseat connectors, and test with a known-good cable and port. Firmware updates on both devices can also fix handshake bugs.
Disable Pure Direct or other modes that turn off OSD/status information
Many AVRs include “Pure Direct,” “Zone 2 Off,” or similar modes that disable on-screen and front-panel displays to preserve audio purity. Check the receiver’s settings and turn off any mode that hides the OSD, then reopen the setup menu using the remote.
Open the receiver’s setup/menu using the remote control and verify the front-panel display
Use the receiver remote’s Menu/Setup button rather than any TV control. If the front-panel display shows menu items but the TV doesn’t, the problem is video output or input selection. If neither shows, the receiver may need a restart, firmware update, or factory reset.
Try a different HDMI output setting or “TV Format” option that matches the 4K TV
Some receivers let you force HDMI output resolution, color space, or HDR metadata. Set the HDMI output to a resolution and format your TV supports (e.g., 3840×2160 @60Hz, RGB or YCbCr 4:2:2). Mismatched formats can hide overlays; testing alternative settings often restores the OSD.
HDR, 3D, PC-resolution signals, and odd aspect ratios that can block the OSD
HDR or nonstandard video modes can change how the TV handles OSD layers. Some TVs disable overlays during HDR or 3D playback, or when receiving uncommon HDMI timings from a PC. If the receiver sends an HDR or computer resolution, switch to standard 4K/60Hz SDR output or disable passthrough to see the menu again.