Quick action preserves gear and keeps a small problem from becoming a costly repair. A sudden power loss often points to shorted speaker connections, overheating, low available power, or an impedance mismatch. Start calmly and gather basic facts about the failure pattern.
Note timing and context. Does the unit cut out instantly, only at higher volume, or after some time? That detail helps separate a shorted speaker wire from a thermal protection event or an overloaded outlet.
Inspect wiring and ventilation next. Reseat speaker leads, look for stray strands, clear dust from vents, and move the unit to a dedicated wall outlet. These simple checks protect speakers and other theater components while saving time on repairs.
Key takeaway 1: Start with connection and airflow checks to rule out common causes.
Key takeaway 2: Seek professional help when shutdowns persist, as internal faults may be present.
Quick safety steps and first-look checks before you troubleshoot
Power off and unplug, then pause to observe panel lights and listen for warning clicks. That simple action protects equipment and lowers risk while you inspect the system.
Note the symptom timing. Does the unit click then cut power instantly, or does it run for about three seconds before going out? That timing helps separate thermal protection from a short or overload.
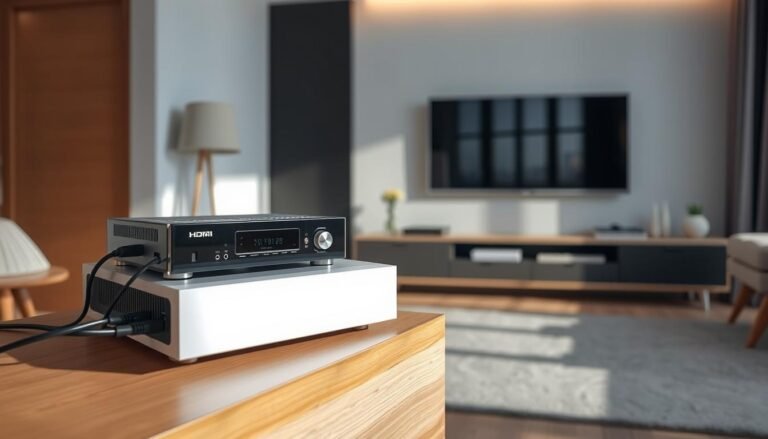
Power down and unplug: protect your receiver, speakers, and yourself
- Always switch the unit off and unplug from wall power before touching the back panel or speaker terminals.
- Keep hands away from live AC and pull plugs by the head to avoid damaged cords.
- Treat a burning smell or visible arcing as a hard stop—let the unit cool and plan a cautious next step.
Note the symptoms: overheats, clicks, shuts off after a few seconds, or loses audio
- Watch the front display for protection or temperature warnings; a relay click can indicate overcurrent.
- Photograph the home setup before moving gear so connections are easy to restore.
- Check that the wall switch is on and the power cord is fully seated at the outlet or conditioner.
Use small, measured adjustments rather than a lot of rapid changes. That way, when the problem clears, the cause is clear too.
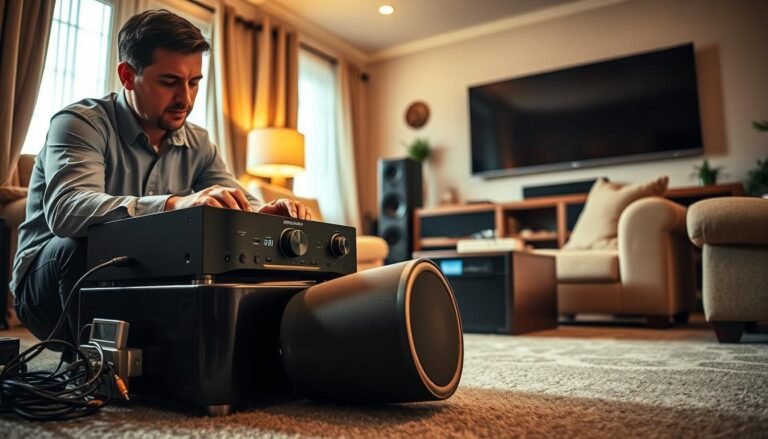
Inspect speaker wires and connections for shorts in your home theater setup
Start at the speaker terminals: even a tiny stray strand can force the receiver into protection. Pull the unit forward and scan the back panel for frayed ends, bridging strands, or loose posts. A quick visual check often reveals the cause.
Trim and reterminate any exposed conductor. Loosen each binding post, cut back to fresh conductor, and insert snugly for a metal-to-metal contact that resists corrosion. Verify correct +/− polarity on every speaker to keep imaging accurate.
Trace each run for chew marks, crushed jackets, or sharp kinks under furniture and behind racks. In-ceiling and back speakers deserve extra attention—staples or tight bends can pierce insulation and create intermittent shorts.

- Disconnect all speakers, power the receiver with no load, then add one speaker at a time to isolate a faulty channel.
- Replace or splice damaged wire with proper connectors and heat‑shrink; keep runs tidy and labeled to help future troubleshooting.
- After repairs, restore power and test at low power, then moderate power, to confirm the fix and avoid re‑tripping protection.
Overheating, ventilation, and dust: common reasons a receiver shuts off
A hot chassis often signals that thermal protection just cut the unit to prevent damage. After unplugging, place a hand briefly on the top and sides to feel for excess heat. Do not touch internal parts or vents while power is connected.
Look at the front display for thermal or fault icons. Those indicators help tell if heat, rather than a short or power fault, caused the trip.
Give the unit breathing room. Clear several inches above and around the chassis, avoid stacking gear, and prefer an open-back cabinet for natural airflow.
- Use a small 120 mm USB fan to assist airflow along the receiver’s vent path.
- Keep direct sunlight off the chassis to avoid gradual radiant heating.
- Blow out vents with short bursts of compressed air and collect dust with a hand vacuum at the exhaust port.
| Issue | Quick check | Fix |
|---|---|---|
| Thermal trip | Case feels hot; display shows fault | Power off, cool for 30–60 minutes, improve ventilation |
| Blocked vents | Objects on top or tight shelf | Clear items, move to open rack, add fan |
| Dust buildup | Visible dust at vents | Compressed air + hand vacuum; schedule deeper clean if needed |
| High ambient heat | Room is warm or sunny | Close blinds, move unit, reduce nearby gear density |
If the unit still overheats after these steps, internal cooling components or thermal paste may need service. Long listening sessions at high volume increase internal temperature, so retest at moderate volume and longer time to confirm the fix.
Power supply, wall outlets, and power strips that can cause shutdowns
Start by checking how power gets to the system; unstable line voltage is a common hidden culprit. A weak outlet or an overloaded strip can produce brownouts that force protection circuits to act.

Use a dedicated wall outlet when possible. Sharing a circuit with refrigerators, portable ACs, space heaters, or vacuums can create startup surges. Those surges drop line voltage and may trip sensitive gear.
Reduce load and verify stable supply
- Run the unit from its own outlet on a separate circuit to keep steady current during dynamic peaks.
- Remove other gear from the same power strip; confirm any conditioner’s continuous rating exceeds system draw plus headroom.
- Inspect the power cable and IEC connection for a snug fit and check the wall receptacle for looseness that causes intermittent connection.
- For long runs, use a heavier gauge extension to avoid voltage drop that appears as a recurring problem at certain times.
| Issue | Quick check | Action |
|---|---|---|
| Shared high-draw appliance | Shutdown aligns with other device startup | Move unit to separate outlet or circuit |
| Loose connection | Wiggle test causes brief cut | Tighten connector, replace worn cable |
| Voltage sag | Use voltmeter or outlet tester | Call electrician or reroute to dedicated circuit |
Keep brief notes on outlets tried and the time of events. That record helps technicians and speeds resolution when the problem persists.
What should I do if my receiver suddenly shuts down?
First, verify each speaker presents a compatible load for the amp in your setup. Low speaker impedance (for example, 4 ohms or less) can overdraw power on units not rated for that load. Confirm specs in the product manuals for both speakers and receiver before testing at higher volume.
Protection mode often sounds like a relay click. The unit may cut power instantly or after about three seconds. That pattern usually indicates overcurrent, a short, or thermal trip rather than a firmware error.
Isolate speakers and test signal paths
- Disconnect all speakers, power the unit with no load, then add back speakers one at a time to find a faulty channel, wire, or driver.
- Reseat HDMI and digital audio cables when audio falls back to TV speakers; bent pins or loose plugs can change the signal path.
- Try a different high‑quality cable and keep signal and power cable runs separated to avoid interference and intermittent faults.
| Symptom | Quick check | Next step |
|---|---|---|
| Click then instant cut | Possible short/overcurrent | Isolate speaker and test channel |
| Click then ~3 sec run | Thermal or protection trip | Cool unit and improve ventilation |
| Audio switches to TV | Signal/cable issue | Reseat or swap HDMI/cable |
Test at modest volume first. If shutdown only happens at higher volume, suspect impedance load or inadequate ventilation. When checks fail, service by a qualified tech is likely needed.
Conclusion
In closing, confirm that wiring, ventilation, and power were checked before seeking bench service.
Fix exposed wires and stray strands first; those small issues can instantly short outputs and force the unit off. Verify speaker wires at the posts and trace each wire through the home, including under rugs and behind furniture.
For intermittent problems that appear after some time, suspect heat—clear vents, cool the chassis, then retest at normal volume. Reconnect back speakers one at a time to isolate a faulty run or driver.
If sound falls back to TV, reseat the HDMI cable and test a fresh cable. Keep labeled photos and notes to speed technician diagnosis when outside help is needed.
Thanks for following this guide. When basic checks fail, professional service will find internal faults and restore reliable operation.