This short guide explains what that overload warning means and how to approach the issue without risking gear damage.
Start safe: an overload light often flags stress inside the amp when output climbs. Common triggers include speaker impedance mismatch, loose wiring, heat buildup, or built-in protection kicking in.
We set clear expectations for simple checks first. Inspect cables, speaker matches, and ventilation before moving to deeper tests. These steps help you tell a minor hiccup from a serious fault.
What you’ll get: a step‑by‑step approach that isolates one variable at a time, preserves sound quality, and avoids unnecessary repairs. If anything smells, smokes, or feels dangerously hot, power down and seek professional service.
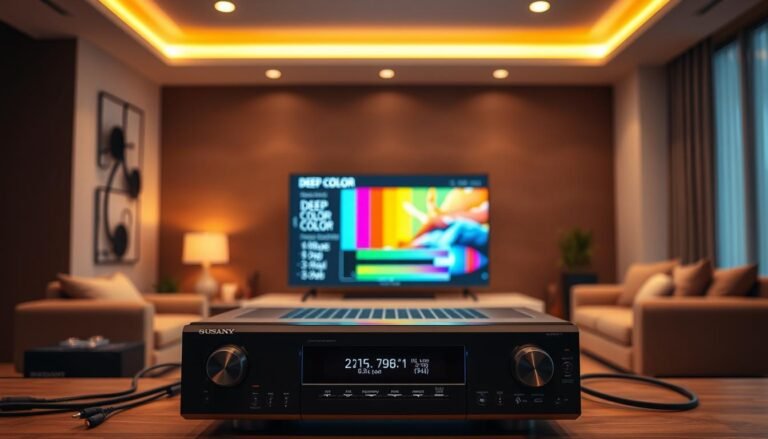
Understanding the “Overload” warning and what it means for your audio system
An overload warning signals the amp has reached a safety limit and is protecting itself. The unit monitors current, heat, and rail voltages and will mute or shut channels when thresholds are crossed.
This response prevents lasting damage by cutting output before components overheat or fail. The message is often temporary and tied to a specific load, connection, or configuration rather than a total failure.
- Common triggers include too‑low speaker impedance, shorted outputs, sudden sound peaks, or heat buildup inside the chassis.
- Protection circuits watch outputs and will latch off if a condition persists beyond a brief spike.
- Resetting power may clear a latched state, but the warning returns if the underlying problem remains.
| Trigger | What the protection does | Quick check |
|---|---|---|
| Low impedance speaker | Mutes channel to limit current draw | Swap in a known 8‑ohm speaker |
| Shorted wire or stray strand | Shuts outputs to prevent damage | Inspect and reterminate speaker leads |
| Spiky content (action/bass) | Temporary trip during peaks | Lower volume and test with steady tracks |
| Heat buildup | Latches protection until cooled | Improve ventilation and let unit cool |
Understanding these behaviors helps you focus checks that spot a real problem instead of assuming the receiver is defective. Start simple, isolate one variable, and you’ll often find a fix without service calls.
Quick safety checks before you turn the volume back up
Begin with a full shutdown. Start by powering the unit down, unplugging it, and letting the chassis cool until the heatsinks are safe to touch. This prevents burns and lets protection circuits reset.
Power down, disconnect, and let the unit cool
Before touching terminals, disconnect speaker connections at both ends. This reduces the risk of shorts while you inspect wiring and terminals.
Inspect for burning smells, tripped protection, or error codes
Sniff for any burning odor and check the front panel for blinking LEDs or error codes. Look at the rear for crushed binding posts, bent banana plugs, or stray copper strands.
- Gently clean vents and grilles to improve airflow and note any weak fan response.
- Confirm the AC outlet and surge protector are sound; avoid daisy-chaining power strips.
- When reconnecting, make sure mute is on and start with low volume, adding one connection at a time.
| Check | Action | Why it matters |
|---|---|---|
| Cooling | Power off and wait | Prevents burns and lets protection reset |
| Wiring | Disconnect and inspect terminals | Stops shorts from stray strands |
| Ventilation | Clean vents; note fan speed | Improves airflow and avoids thermal trips |
| Power source | Check outlet and surge protector | Ensures steady power under load |
If any safety red flag appears, stop and plan for targeted diagnostics or professional service. A controlled restart is safer than forcing full power right away.
Common reasons your receiver displays Overload at high volume
Common setup and hardware issues often cause an overload warning when you push volume levels.

Low or mixed impedance speakers can draw far more current than the amp expects. Using 4‑ohm and 8‑ohm units together or driving a load below the manual’s spec stresses the outputs.
A frayed speaker lead or a loose jumper can create intermittent shorts, especially during loud, bass-heavy passages when cones move more. Thermal buildup from blocked vents or enclosed cabinets raises internal temperatures until protection circuits cut output.
- Impedance mismatch: too-low or mixed speaker loads increase current draw.
- Wiring faults: stray copper, loose terminals, or thin cable runs cause shorts or losses.
- Thermal and settings issues: blocked vents, aggressive EQ, or running full-range without a sub raise power demands.
| Cause | Effect | Quick fix |
|---|---|---|
| Low-impedance speakers | Excess current trips protection | Use 8‑ohm speakers or reduce channels |
| Frayed leads or shorts | Intermittent shutdowns during peaks | Inspect and reterminate wiring |
| Heat and heavy EQ | Thermal latch until cooled | Improve ventilation; lower bass boost |
Stacked factors — thin cable, damaged drivers, and tight placement — make the issue feel random. Isolate one variable at a time to find which speaker or setting is driving the overload.
Why does my receiver show “Overload” at high volumes? The role of speaker impedance and ohms
Speaker impedance often determines whether a protection circuit trips under heavy demand. Many mass-market amps expect a nominal 8 ohms per channel. Connecting lower-impedance loads forces more current and heats output devices quickly.
Minimum 8‑ohm requirement and why it matters
Manufacturers sometimes bury the minimum load spec in the manual, but a JVC example makes the point: the unit effectively requires 8‑ohm speakers on every channel. Running lower ohm speakers can trigger protection during dynamic content.
Mixing 4‑ohm surrounds or center with 8‑ohm fronts
Mixing 8‑ohm fronts with 4‑ohm surrounds or a 4‑ohm center creates uneven load. The channels with lower impedance reach current limits first, which often causes a trip during action scenes.
How to confirm speaker impedance
Check labels near terminals or spec sheets first. To verify, measure DC resistance with a multimeter; a 3–4 ohm reading usually means a nominal 4‑ohm design.
- Fix: replace the center and surround with matched 8‑ohm models to eliminate the problem.
- Avoid: wiring speakers in parallel on one channel, which lowers the effective impedance further.
| Issue | Effect | Quick action |
|---|---|---|
| 4‑ohm speaker | Higher current draw | Check label or meter |
| Mixed ohms | Uneven channel stress | Use matched 8‑ohm speakers |
| Parallel wiring | Lower effective ohms | Rewire to single speaker per output |
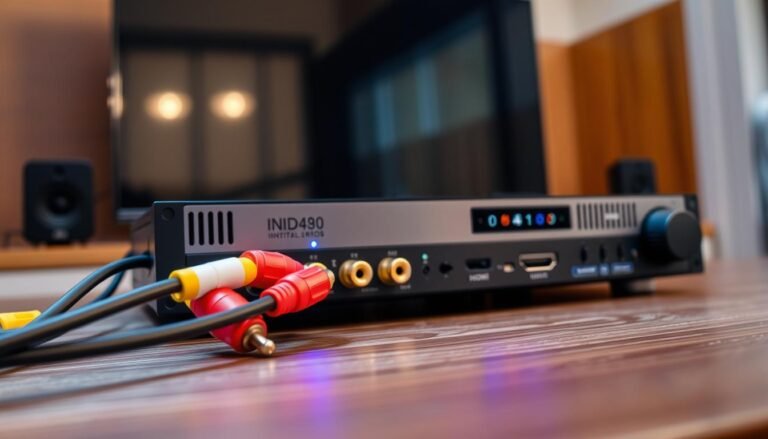
Speaker wires and connections: shorts, stray strands, and polarity problems
Loose or damaged wiring is a frequent cause of sudden trips and erratic channel behavior. Start by visually tracing each speaker wire run from the amplifier to the driver. Look for crushed insulation, nicks, or places the cable is pinched under furniture.
Stray copper strands can bridge positive and negative posts when a binding post is tightened. Clean, tightly twisted bare ends or quality banana/spade terminals keep strands contained. Too much exposed copper raises the chance of accidental shorts.
How to terminate and test
- Keep stripped length minimal and use proper connectors to hold conductor strands.
- Verify polarity (+ to +, − to −) on each connection to keep sound coherent and avoid channel stress.
- With speakers disconnected, use a multimeter continuity test to confirm no shorts on each run.
| Check | Action | Why it matters |
|---|---|---|
| Frayed strand | Reterminate with connector | Prevents intermittent shorts |
| Crushed insulation | Replace or reroute wire | Avoids nicked conductors under stress |
| Channel trip | Test one speaker at a time | Isolates the specific problem |
If an overload returns only with a single channel connected, you likely isolated the faulty speaker, its wires, or its connections. Replace long, thin cable with thicker gauge for longer runs to reduce losses and protect the amplifier.
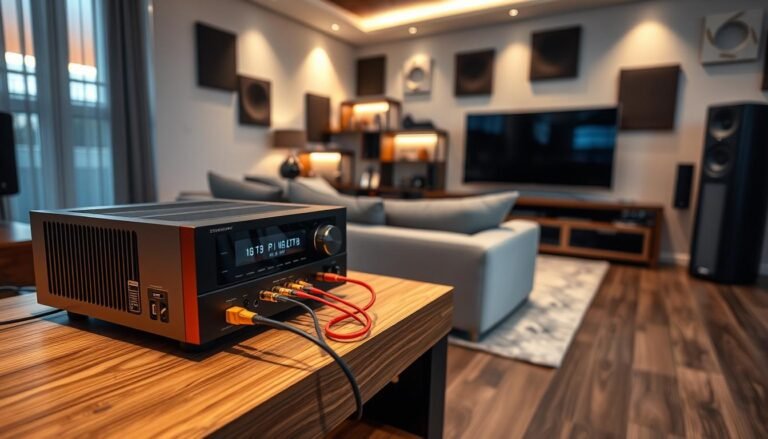
Heat, airflow, and fan issues inside the receiver
Blocked vents and cramped cabinets often force thermal protection to cut power to protect output circuits. Keep several inches of clearance above and around the unit. Avoid stacking warm components directly on top.
Dust and debris clog fins and choke airflow. Use low-pressure air to clean heatsinks and internal paths. Do this regularly to prevent rising temperatures during long listening sessions.
Fan contacts can fail silently. A reported fix on a Technics AV unit involved opening the top cover, separating the blower, and cleaning the copper contacts with fine sandpaper. That restored reliable cooling and stopped repeated protection trips.
Only open the chassis if you are comfortable and have unplugged AC, waited for capacitors to discharge, and reviewed service guidance. If unsure, seek qualified service to avoid damage or shock.
- Separate blower assembly gently and refresh oxidized contacts if safe to do so.
- Consider an external cabinet fan for long sessions; a quiet model keeps the cabinet cooler.
- Never bypass thermal sensors — they prevent costly failures.

| Problem | Action | Benefit |
|---|---|---|
| Blocked vents | Clear space; clean intake/exhaust | Improves airflow and reduces trips |
| Oxidized fan contacts | Separate blower; refresh copper contacts | Restores consistent fan operation |
| Tight cabinet placement | Add venting or external fan | Lowers internal temp during long play |
| Excess dust | Use low-pressure air on heatsinks | Prevents fin clogging and heat soak |
Receiver settings, power demands, and protection circuits
A careful review of setup options often reveals settings that increase current demand unexpectedly. Start in the setup menu and confirm which channels are active. Disable unused channels so the unit does not allocate power to empty outputs.
Speaker configuration and crossover
Set speakers to Small when you have a subwoofer. This shifts deep bass away from amp channels and reduces peak power draw. Choose a crossover near 80–120 Hz to keep low frequencies on the sub.
Volume, dynamic content, and protection trips
Loud scenes with sustained bass create long duty cycles that heat components and trip protection. Lower global EQ boosts and disable dynamic enhancements to reduce instantaneous spikes.
- Calibrate levels with pink noise and an SPL meter to avoid compensating by raising master volume.
- Check channel trims; large positive trims increase demanded headroom and may cause a shutdown.
- If unsure, drop the master volume slightly to see if the overload clears — this helps tell a settings power issue from a wiring problem.
| Setting | Effect | Quick action |
|---|---|---|
| Unused channels | Unneeded power allocation | Disable in menu |
| Large speaker setting | Channels handle bass directly | Set to Small if sub present |
| EQ/Dynamic features | Instant current spikes | Reduce boosts; disable enhancers |
Step-by-step troubleshooting to clear the Overload problem
Start with an isolated, safe test. Use a single, known-good 8‑ohm speaker on the front left output. With the receiver powered off, connect a short, verified speaker wire and power up at low volume.
Test each channel alone
Raise volume slowly while playing steady content. Repeat this for every channel to confirm no single amp section trips protection.
Reintroduce speakers and wires one at a time
Reconnect each speaker and its wire individually. Play moderate material and watch for the exact moment the problem returns.
- Label cables as you add them to trace the culprit fast.
- Inspect each speaker wire end for stray strands and pinched runs behind furniture.
- Use a multimeter to check DC resistance on each speaker; low readings point to a 4‑ohm unit or a damaged driver.
When to replace 4‑ohm units
If overload appears only when the center or back surrounds are connected and those drivers read about 3–4 ohms, plan to replace them with 8‑ohm speakers that match the amp’s spec. The JVC example confirms swapping to 8‑ohm speakers often stops repeated trips.
| Step | Action | Why it helps |
|---|---|---|
| Single-channel test | Connect 8‑ohm speaker, low volume | Establishes baseline stability |
| One-by-one reconnect | Add wires and speakers gradually | Pinpoints failing speaker or cable |
| Replace 4‑ohm drivers | Swap for 8‑ohm models if needed | Makes load safe for the amp |
Keep volume conservative while testing. When you find the root cause, tidy wiring, confirm tight terminations, power cycle, rerun setup, and play varied material to verify the problem is resolved. Thanks for following a careful, methodical approach — it saves time and prevents further damage. Thanks again for verifying each step before moving to the next.
Conclusion
Wrap up with a simple, conclusive plan. Swap parts one at a time to prove whether a speaker, a wire, or the amp channel causes the overload. That method turns a vague fault into a clear fix.
Most cases trace to mismatched impedance. If a channel trips when bass peaks or when volume rises, replace 4‑ohm drivers with matched 8‑ohm speakers and keep the center similar to the fronts for consistent sound.
Tidy every connection, upgrade long thin cable to a heavier gauge, and verify the fan and vents keep the unit cool. If the problem persists, test each speaker with a known-good unit to isolate the fault.
Thanks for following a step-by-step approach — it protects gear and restores reliable audio without guesswork.
FAQ
Why is the receiver displaying an overload warning when I push up the volume?
The unit senses excessive current or heat on one or more channels. Common triggers include low‑impedance speakers drawing more current than the amplifier is rated for, a short in the speaker wiring, or thermal protection kicking in from poor ventilation. The protection circuit trips to prevent damage.
What does the “Overload” indication mean for my audio system?
It signals the receiver’s protection system detected a problem such as clipping, excessive current, or overheating. The amp pauses output or shuts channels down to avoid burned output transistors, damaged speakers, or permanent failure.
What quick safety checks should I do before raising volume again?
Power the unit off and unplug it. Let it cool for at least 15–30 minutes. Inspect for burning smells and check the front panel for additional error codes. Only reconnect when the unit is cool and visibly clean.
How can I tell if speaker impedance is causing the overload?
Check speaker labels or the manufacturer specs for nominal impedance (ohms). If the receiver recommends 8 ohms and you’ve connected 4‑ohm speakers, the amp may be overloaded. A multimeter can confirm DC resistance, but nominal impedance differs from that reading.
Can mixing 4‑ohm and 8‑ohm speakers trigger the problem?
Yes. Running 4‑ohm surrounds or center channels alongside 8‑ohm fronts increases total load on the amplifier. That mismatch can push the amp into overload, especially at higher volumes or with heavy bass content.
How do I inspect speaker wires and connections for shorts?
Look for stray copper strands, pinched insulation, or bare wire touching chassis or other terminals. Ensure each wire is properly terminated in the binding post or banana plug and polarity is correct. Replace damaged cable and tidy connections.
How can I isolate a faulty channel or speaker?
Power down and remove all speakers. Test one known good 8‑ohm speaker on a single channel at low volume. Repeat across channels, then add speakers back one at a time. The channel that trips the protection or reproduces distortion points to the problem.
Could heat or fan problems inside the unit cause overload warnings?
Absolutely. Blocked vents, a failed fan, or heavy dust buildup raises internal temperatures and engages thermal protection. Ensure the receiver has clearance, clean vents, and repair or replace fans if they aren’t spinning properly.
What receiver settings can increase power demands and trip protection?
Large speaker settings, low crossover frequencies, bass management, or enabling multiroom outputs raise power draw. High dynamic content (explosions, deep bass) produces peaks that can push amps into overload. Adjust speaker size settings and crossover to reduce strain.
What step‑by‑step troubleshooting should I follow to clear the overload?
Turn off and cool the unit, inspect wiring, test each channel with a single verified 8‑ohm speaker at low volume, add speakers back one at a time, and check ventilation and fan operation. If the problem persists, contact an authorized service center or the receiver manufacturer for repair.
When should I replace 4‑ohm speakers with 8‑ohm models?
If your receiver’s manual specifies a minimum of 8 ohms and you repeatedly hit protection with 4‑ohm speakers, upgrade to compatible 8‑ohm speakers. Using the correct impedance prevents overheating and extends the life of both speakers and amplifier.