This short guide gives a clear roadmap for planning, connecting, and optimizing an AV receiver-based system for home theater in the United States today.
A receiver centralizes your audio and video sources, sends signals to displays, and routes sound to your speakers. Following a structured order improves sound quality, reliability, and daily usability.
This walkthrough helps first-time builders, upgraders adding Atmos or extra channels, and anyone chasing better picture and sound. Expect practical steps on room planning, choosing power and features, wiring, step-by-step setup, placement, menu tuning, and calibration.
Along the way you’ll hit measurable targets: correct levels, distances, crossover points, stable HDMI behavior, and clear center dialog. Use basic tools—hand tools, HDMI and speaker cables, a phone SPL app, the receiver’s setup mic, and firmware updates—to get modern formats working.
Follow this process to save time, cut trial-and-error, and achieve higher-quality results. Pro tips include labeling cables, documenting input names, and checking auto-calibration settings to lock in consistent performance.
What an AV receiver does and why setup matters now
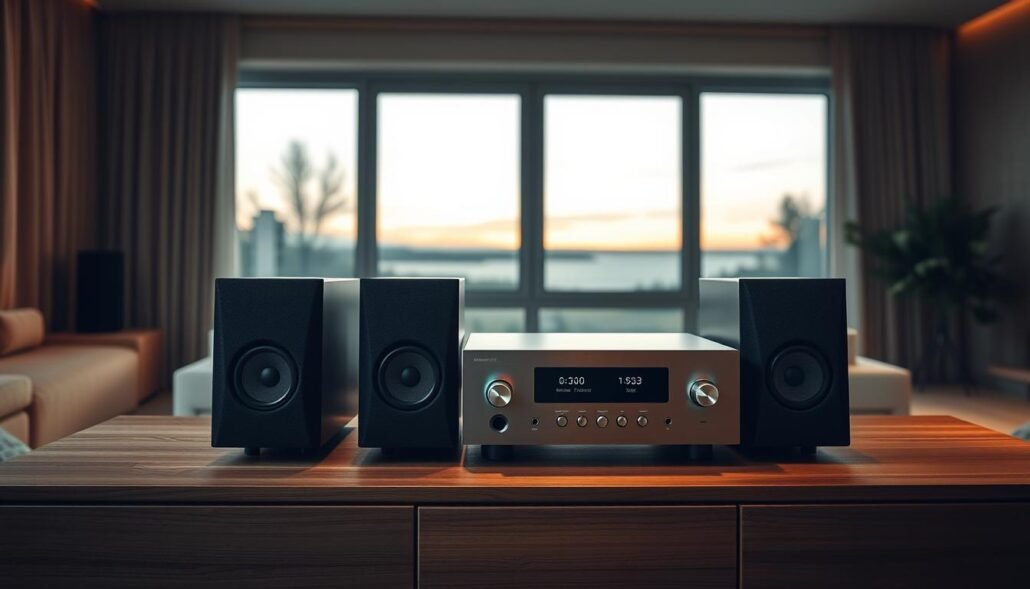
At the heart of every reliable home theater is a receiver that manages multiple audio and video inputs, decodes surround formats, amplifies channels, and sends the output to your display and speakers.
It handles Dolby and DTS decoding, routes HDMI sources like players and consoles, and applies room correction so mixes sound as intended. Proper setup reduces lip-sync issues and avoids signal dropouts.
Read the manual before you begin. That simple step saves time and prevents mistakes with assignable inputs, eARC behavior, and speaker binding posts.
- Hub function: Ingests sources, decodes formats, and unifies control for the whole system.
- Modern needs: HDMI 2.1, 4K/HDR, Atmos/DTS:X, networking, and app control are features to match to your equipment.
- Mapping: The receiver assigns channels to speakers, manages bass to the subwoofer, and sets crossovers for consistent sound.
| Function | Why it matters | Example |
|---|---|---|
| Decoding | Enables immersive surround formats | Dolby Atmos for movies |
| Routing | Ensures correct HDMI path and output | Select eARC input for TV apps |
| Calibration | Optimizes levels and timing for the room | Set speaker sizes, crossovers, and distances |
Plan your room and system for immersive surround sound
Plan the room layout first — seating, screen, and speaker positions set the foundation for an immersive home theater. A clear plan helps the system deliver stable imaging and accurate bass.
Listening position, room size, and speaker layout that fit your space
Start with the listening position. Place your main seat so front left and front right are equidistant and form a 45–60° angle. Symmetry prevents tonal imbalance and keeps the center vocal locked to the screen.
- Let room size and shape decide how many speakers you can use and where bass will collect.
- Pre-route cables to planned speaker spots and label both ends to speed setup and keep equipment neat.
- Choose subwoofer locations early; corners boost output but may need EQ for smooth bass.
- Plan for ceiling or height channels only if joists and wiring paths allow safe runs.
Common speaker configurations from stereo to Atmos and ceiling channels
| Configuration | Use | Typical room size |
|---|---|---|
| 2.0 / 2.1 | Music or small home rooms | Small |
| 5.1 | Core theater layout for movies | Medium |
| 9.1 / 11.2 | Height cues (Atmos/DTS:X) for high-end immersion | Large |
This short guide helps you confirm channel counts, wire runs, and furniture spacing before you buy gear or cut cables.
Choose the right power, channels, and features before you buy
Buy the right mix of continuous power, channels, and connectivity to get lasting performance from your home theater.
RMS matters. RMS is the continuous output per channel and should match your speakers’ needs and the room size.
Pick a receiver with enough RMS per channel to drive moderate-sensitivity speakers in a mid-sized room. That prevents clipping and keeps dynamic peaks clean.
Key selection points
- Match RMS power to speaker sensitivity and listening distance; more headroom beats underpowered output.
- Choose channel counts that fit your planned layout (5.1, 7.1, 9.1) and allow for future expansion.
- Prioritize HDMI 2.1 ports for 4K/120 gaming and verify enough high-bandwidth inputs for all sources.
- Confirm Dolby Atmos and DTS:X support if you will add height speakers or up‑firing modules.
- Check for eARC, multi‑zone preouts, Wi‑Fi/Bluetooth, and app control to simplify daily use and integrate with other systems.
As an example, a unit with solid RMS per channel and assignable amps gives flexible output and easier upgrades if you add external power later.
Connections and cables that make your system rock‑solid
Clean, reliable connections are the backbone of any stable home theater system. Pick the right cable types and routes to avoid dropouts, sync issues, and audible artifacts.
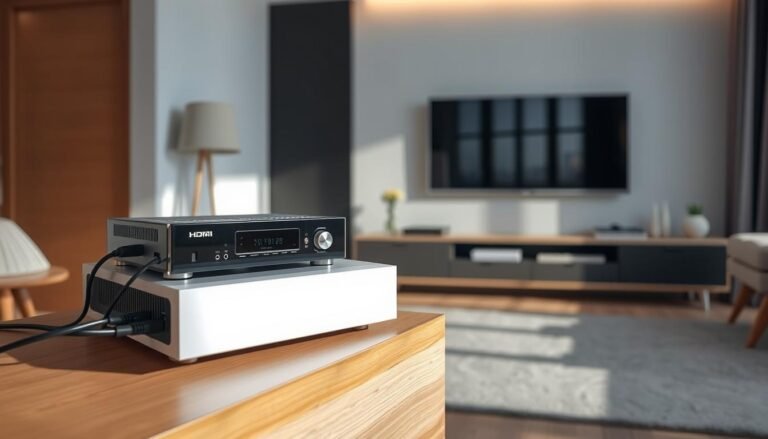
HDMI is the primary path for high-definition video and audio from consoles and players. Use certified Ultra High Speed HDMI cables for 4K/HDR and gaming. Connect sources to receiver HDMI inputs and the receiver’s HDMI out/eARC to your TV.
- Enable eARC on both TV and receiver to pass high-bit-rate audio from TV apps and keep lip‑sync steady.
- Keep optical or coaxial for older equipment; component video only for legacy DVD-era sources.
- Run Ethernet to the receiver for reliable streaming and firmware updates; Wi‑Fi is a fallback.
- Attach USB drives or sticks to labeled ports and confirm file compatibility and power limits.
- Label both ends of all cables, avoid tight bends, separate power and signal runs, and test each source before closing cabinets.
| Connection | Best use | Tip |
|---|---|---|
| HDMI / eARC | 4K/HDR, uncompressed audio | Use Ultra High Speed certified cables |
| Optical / Coaxial | Older digital sources | Keep as backup |
| Ethernet / USB | Streaming, storage | Prefer wired network for stability |
av-receivers installation guides: step-by-step setup
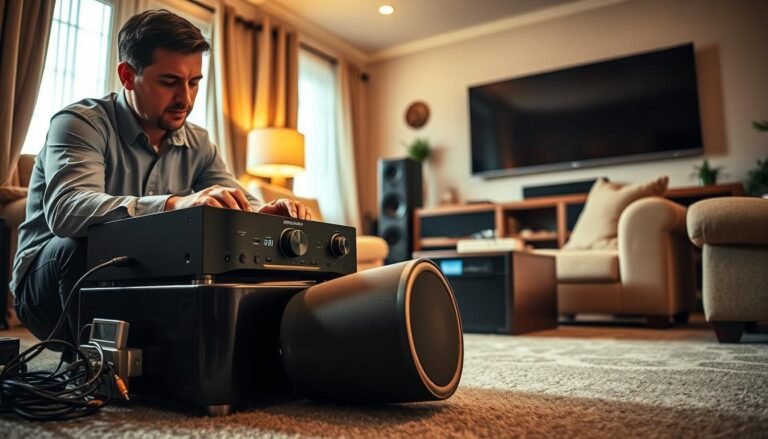
Begin the setup by unboxing and positioning the receiver in a ventilated spot. Leave several inches of clearance on all sides and avoid enclosed cabinets without airflow to prevent overheating.
With the unit powered off, connect sources to the correct HDMI inputs and run the HDMI out (use eARC when available) to the TV. Use certified cables and secure strain relief to avoid stress on ports.
Wire speakers to clearly marked binding posts and observe polarity. Use assignable terminals for surrounds or height channels if your layout needs extra outputs. For passive speakers use the receiver’s amps; powered speakers need only signal-level connections.
Connect the subwoofer via the LFE output. Set the sub volume near halfway and disable its low-pass filter so the receiver handles the crossover.
Power up, follow the initial setup wizard, name inputs, and update firmware before calibration. Plug in the setup mic and run auto-calibration (Audyssey, YPAO, etc.). Place the mic at ear height and follow prompts for multiple positions.
Make sure to read the manual when assigning amps or mapping extra channels; brands use different labels. Confirm network connectivity for updates and streaming, then document cable routes and input names for easier troubleshooting.
Speaker placement and fine tuning before calibration
Good speaker placement sets the stage for clear imaging and steady dialog before you run any room correction. Spend time here and the calibration process will be faster and more accurate.

Left/right symmetry, toe‑in, and vocals that lock to center
Place the left and right speakers equidistant from the main listening seat and form a 45–60° arc. Match height and angle so the stereo image is balanced.
Play a familiar vocal track and adjust toe‑in until the voice appears exactly between the two speakers. Small angle changes often fix clarity and stage width.
Center alignment and subwoofer location fundamentals
Align the center channel so its tweeter is near ear height and aimed at the listening position. Avoid burying it in closed furniture, which alters dialog quality.
Start subwoofer placement near the front stage and test several positions. Listen for seamless bass blending and check polarity—reversed wiring collapses the soundstage.
- Keep front speakers the same distance from the back wall to avoid tonal shifts.
- Dress cables so they don’t tug speakers out of alignment or rattle during playback.
- Note final placements and seating positions to make mic locations consistent for calibration.
Dial in core receiver menu settings and speaker configuration
Tuning the receiver’s menu early keeps the system reliable and makes later calibration faster.
Set speaker size to Small for all channels so the subwoofer handles deep bass. This frees mains and the center to reproduce midrange and highs cleanly.
Use 80 Hz as your baseline crossover. If surrounds or ceiling speakers are compact, raise those crossovers to 90–100 Hz to reduce strain and tighten integration.
Map channels and assign amps
In the receiver menu, map each channel to match your physical layout and assign internal amps for surrounds or height speakers as needed.
Confirm the on-screen diagram matches speaker placement. Rename inputs (for example “Apple TV,” “Xbox,” “Blu‑ray”) to simplify daily use and avoid confusion.
Bass management, levels, and output types
Verify LFE/subwoofer is enabled and avoid double-bass modes unless you intend to use Large speakers. Set initial level trims near 0 dB; you will refine them with test tones later.
- Choose output type per input (bitstream or PCM) and enable passthrough for supported formats.
- Turn off channel tweaks like dialog lift or center spread for a neutral baseline.
- Double-check speaker polarity, binding posts, and cables before running room correction.
Save your profile if the receiver supports configuration storage. That makes it easy to revert settings after experiments or firmware updates.
Calibrate for reference‑quality sound
A calm, methodical calibration run turns a good setup into reference‑quality sound. Before you start, fine‑tune speaker placement and seating so the mic captures typical listening positions.
Run room correction: mic placement and passes
Use the receiver’s included mic on a tripod at ear height, pointing up. Take every instructed mic position so the room behavior is fully measured.
Set speaker levels with an SPL meter app
Use the receiver test tones and a phone SPL meter to set all channels to 75 dB at the main seat. Match relative levels so the soundstage stays cohesive and dialog remains centered.
Enter distances, align timing, and adjust subwoofer delay
Measure speaker distances with a tape and enter them precisely; this aligns arrival time and smooths panning. For a subwoofer with digital delay, add about 1 foot per millisecond or sweep distance while playing an 80 Hz tone to find maximum output.
- After auto‑calibration, confirm crossovers—80 Hz for most, 90–100 Hz for small surrounds or height types.
- Trust your ears for small level trims to the center or sub to improve clarity and bass impact.
- Save the profile and re‑run the process if you move speakers, change seating, or add absorption.
Everyday audio and video settings that boost performance
Small audio and video changes deliver big gains in clarity and consistency for daily use. Use basic menu tweaks to steer dialog, tame peaks, and keep HDMI video stable across sources.

Upmixing two‑channel sources makes dialog land on the center channel and fills the room naturally. Set each input’s stereo mode to Dolby Surround or DTS so classic stereo tracks route center information and engage surrounds.
Use the receiver menu to correct lip‑sync on affected sources. Apply dynamic range controls or night mode when you need to limit peaks but keep dialog audible. Save these as per‑input presets so players and consoles recall the right setting automatically.
- Set stereo mode per input to Dolby Surround or DTS for better center channel clarity.
- Adjust lip‑sync when video lags or leads audio—especially with eARC and external processors.
- Enable volume leveling or night modes to reduce sudden loud passages without losing speech.
- Save custom presets so each source uses preferred audio and video settings.
- Check bass management after changes to confirm the LFE stays routed to the subwoofer and crossovers match your speakers.
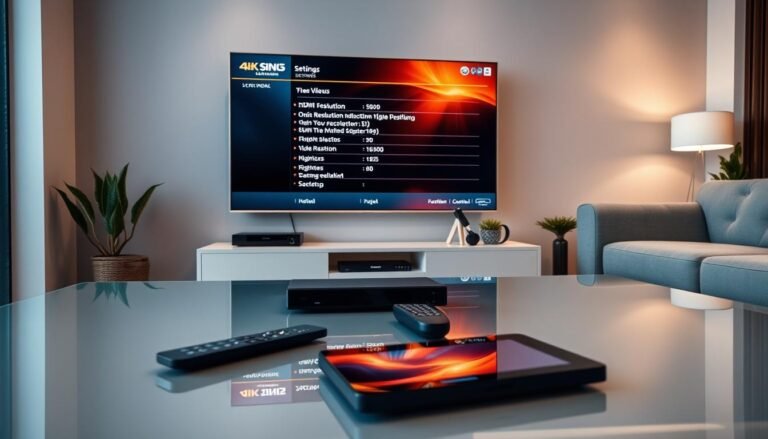
- Lock HDMI video settings (color space, HDR passthrough) per source to avoid picture shifts during playback.
After small center boosts or trims, replay a familiar scene to verify levels. If dialog still feels soft, a tiny lift to the center channel often fixes clarity without upsetting balance.
Keep a short change log of menu tweaks and saved presets. Revisit room and seating basics if you move furniture—timing and perceived sound can shift, and a quick check of distances and levels will keep the system sounding consistent.
Troubleshooting and pro optimization tips
When a home theater acts oddly, a clear troubleshooting order saves time and reduces frustration. Start with power and cabling, then move into menu checks and calibration.
Fix HDMI handshake, CEC, and eARC issues the smart way
Power-cycle devices in order: display, receiver, then sources. Reseat HDMI cables and test a certified Ultra High Speed lead on the ARC port.
If CEC devices misbehave, disable CEC selectively to isolate the culprit. For eARC drops, make sure eARC is enabled on both TV and receiver and check firmware.
When to redo calibration, check crossovers, and trust your ears
Redo calibration after moving speakers, changing seating, swapping a sub, or after firmware that affects audio. Keep the mic vertical on a tripod during auto‑EQ and verify distances afterward.
- Tips: Use 80–100 Hz crossovers and set front channels to Small for tight bass control.
- Upmix stereo sources so voices route to center and check dialog with familiar scenes.
- Keep a quick checklist: HDMI/eARC status, speaker wiring, distances, levels, and upmix modes.
When dialog feels soft, slightly raise the center level and trust your ears for final micro‑adjustments.
Conclusion
When you combine deliberate planning with the right cables and careful calibration, the whole system finally sings.
Follow a steady process: plan the room, pick receivers with the features you need, wire with certified cables, and run room correction. Read the manual and validate distances and 80 Hz crossovers for reference quality sound.
Make sure HDMI paths and eARC are set, name inputs, and label cables so the home theater stays stable over time. Set speakers to Small and use sensible crossovers to keep dialog and bass consistent.
Keep a short maintenance routine: firmware checks, HDMI tests, and occasional re‑calibration. Use a tripod mic, tape‑measured distances, and 75 dB level matching—then trust your ears for small trims.
Do this and your home theater will deliver reliable picture and sound daily with less guesswork and better long‑term quality.


