Welcome. This friendly guide shows a hands-on path to find the root cause behind weak or missing sound in your rig. You’ll get clear, practical tips that keep gear safe and expenses low.
We start with basics most people miss: power, fuses, and good grounds. A lit power lamp or glowing filaments often mean power is present, while dirty loop jacks can kill audio until cleaned.
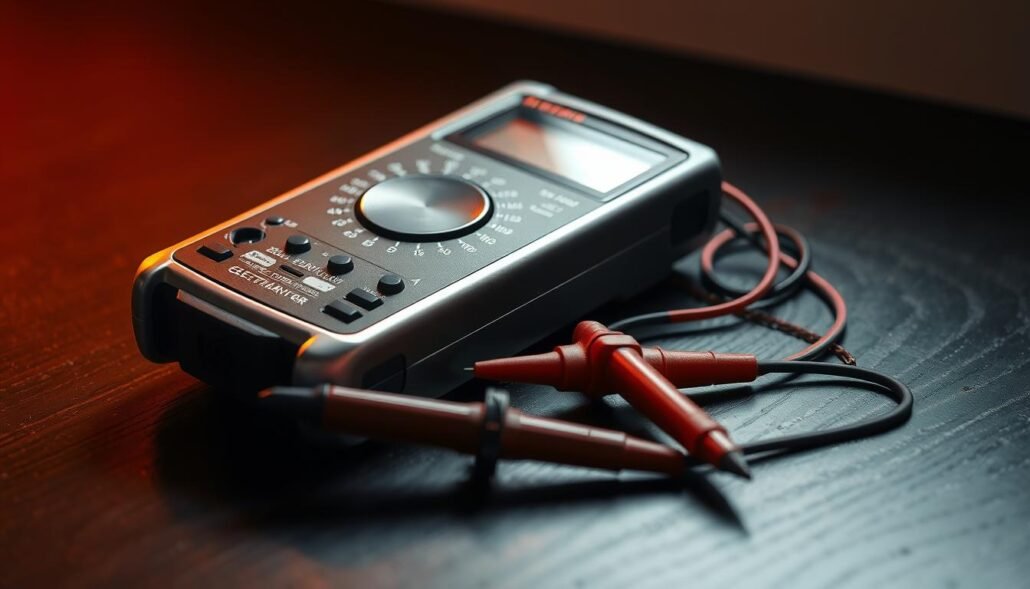
Next we walk the signal chain—from head unit and RCAs to loop points and speaker wiring—showing simple swaps that reveal problems fast. Use a multimeter and a known-good cable to isolate faults without guesswork.
Whether you work on a Fender Blues Junior-style tube amplifier in the living room or a car amp in the trunk, this short intro sets the stage. You’ll feel confident to test, clean, and swap parts, or to choose a pro when a job needs it.
Understand the problem fast: symptoms, context, and what your amp is telling you
A few simple observations at power-up will point you toward the likely cause. Note LEDs, noises, and whether the unit cuts out after a minute. These clues speed up safe and smart troubleshooting.
- No sound but power on: make sure the source isn’t muted, balance/fade is correct, and RCAs are seated. Swap known-good rca cables to rule out a weak link.
- Faint or gritty sound that worsens with vibration often points to bad grounds or loose wires. Inspect and tighten all connections.
- A steady or blinking protect light signals thermal or short issues; check speaker load, shorts at terminals, and ventilation.
- One silent speaker? Swap speakers and RCAs across channels to see if the issue follows the cable, driver, or amp channel.
| Symptom | Likely Cause | First Check |
|---|---|---|
| No sound, power LED on | Signal chain fault (source, rcA, mute) | Check source, balance, swap rca cables |
| Distortion/static | Poor ground, damaged rcas, loose wires | Inspect ground, replace RCAs, tighten terminals |
| Protect light or cutoff | Thermal overload, shorted load, impedance mismatch | Verify speaker impedance, clear shorts, allow cooling |
Document each step and any changes since the last good session. Small changes—like a slipped speaker lead after a move—often solve the whole problem.
Safety first and tools you’ll need
Before you touch any wiring, pause and plan—safety saves gear and keeps you safe. Unplug the unit or switch off the vehicle ignition. That simple step prevents shorts and accidental damage.

Essential tools start small but matter a lot. Keep a digital multimeter for basic checks, a can of contact cleaner, and a set of spare fuses on hand. Add a flashlight, small screwdrivers, and needle-nose pliers.
Multimeter basics for voltage, continuity, and resistance (ohms)
Learn three functions: DC voltage for power presence, continuity to find breaks, and resistance to check speakers and grounds.
For resistance checks set the multimeter to a low ohms range and zero the leads by touching them together. Measure devices while disconnected; healthy speaker loads usually read 3–14 ohms when isolated.
Contact cleaner, spare fuses, and known-good RCA/speaker cables
Carry electronic contact cleaner with lubricant for oxidized jacks. Spray, insert and remove a plug 8–10 times, then allow drying for one hour to overnight.
Stock matching fuses and a few known-good cables to swap quickly. Using a trusted RCA or speaker cable saves time and rules out bad wire or connector faults.
- Work methodically: test, note, and change one variable at a time.
- Keep one hand free to reduce accidental shorts when probing chassis or terminals.
- Label long runs so reassembly is fast and accurate.
Power delivery and fuses: verify battery/AC, ground, and protection
Before any signal checks, confirm the supply side is healthy. With a meter, measure DC at the battery feed and again at the amp power input to make sure the unit actually gets voltage under load.
Check inline and onboard fuses first
Pull the inline fuse by the battery and the onboard fuses at the chassis. A blown fuse often shows a snapped link or dark scorching. Replace only with the same rating to protect the circuit.
Voltage and remote trigger checks
Verify 12–14.4V at the constant battery feed. With the head unit on, probe the remote turn-on and confirm about 11–14V. No trigger voltage means the amp won’t wake, even if the main lead is live.
Ground and wiring rules
- Keep the ground wire short—ideally under 18 inches—and bolted to bare metal.
- Inspect the power wire run for kinks, bad crimps, or crushed insulation.
- Measure ground to chassis; it should be near zero ohms.
| Check | What to see | Action |
|---|---|---|
| Inline fuse | Intact link, no soot | Replace with same amp rating |
| Battery/amp voltage | 12–14.4V at battery, 11–14V remote | Repair wiring or source if low |
| Terminals | No green/white corrosion | Clean and tighten |
Make sure battery posts, distribution blocks, and cables are clean and tight. Once supply and protection are confirmed, you can move to signal and load checks with confidence.
amplifier troubleshooting
No sound but power light on: trace the signal chain first
If the power lamp glows but you hear nothing, walk the chain from source to speakers.
Swap in known-good RCA cables, check mute and balance on the head unit, and try a single test speaker to find where audio disappears.
Distortion or static: suspect ground, RCA cables, or settings
Crackling that follows volume changes often points to a weak ground or damaged RCAs.
Clean grounds, reseat connectors, and replace suspect wires before assuming an internal fault.
Protect light stays on: thermal overload, shorted outputs, or mismatch
If the protect light stays lit at boot, stop and disconnect speakers to clear a short.
Let the unit cool, confirm speaker impedance matches spec, and check for shorts at terminals.
Powers on then cuts out: heat, voltage drop, or a shorted load
Units that run briefly then die usually suffer thermal shutdown or voltage sag under load.
Ensure ventilation, test system voltage during loud passages or engine crank in a car, and check fuses for signs of output problems.
| Symptom | Likely cause | Quick action |
|---|---|---|
| No sound, power on | Bad signal chain, mute, or wiring | Swap RCA, check source, try test speaker |
| Crackle/static | Poor ground or damaged cables | Clean ground, replace RCAs, retest |
| Protect light stays on | Shorted output, thermal, impedance mismatch | Disconnect speakers, cool unit, verify load |
| Powers up then cuts out | Overheat or voltage drop | Check ventilation, measure voltage, inspect fuse |
Note: For tube rigs, a lit filament can still mean a dead preamp tube. Swap preamp tubes one at a time; output tube faults often blow a fuse. Keep clear notes of each test and result.
Signal path and connections: source, RCAs, effects loop, and gains
Begin the signal check at the source to eliminate easy faults before opening gear. Make sure the head unit is playing, the correct output is enabled, and balance/fade is centered.
Head unit and source checks
Verify gains and digital limits so the volume isn’t effectively muted. Swap in a known-good player to confirm the source is not the problem.
Wiggle-test and swap RCA cables
Perform a wiggle test on RCAs at both ends. Any crackle or dropouts when you touch connectors points to bad cables or jacks.
Replace RCAs one channel at a time. If sound returns, the old cable or connector caused the issue.
Jump the series effects loop and clean jacks
For units with a series effects loop, jump send to return with a short patch cable. If audio returns, clean the loop jacks with contact cleaner and cycle a plug 8–10 times.
Allow drying time before high-volume testing to avoid residue bridging.
- Inspect that all plugs are fully seated and strain relief is intact.
- Check for nicked insulation on any wire and secure loose connections.
- Change one variable at a time and listen after each test.
| Check | Why it helps | Action |
|---|---|---|
| Head unit/source | Confirms signal exists | Swap source, center balance, check mute |
| RCA cables | Common intermittent faults | Wiggle-test, swap known-good RCAs |
| Effects loop jacks | Oxidized contacts stop signal | Jump loop, clean with contact cleaner, let dry |
Speakers, loads, and ohms: matching impedance and testing wiring
Measure the speaker load first. A quick resistance check tells you if a cabinet or driver is healthy before you power up the amp.
With speakers disconnected, use a multimeter at the driver or cabinet. Most healthy drivers read between 3 and 14 ohms. If you can’t reach the terminals, plug a known-good speaker cable into the cabinet and measure tip to sleeve on the cable.

Fast tests and wiring best practices
Try a 9V battery pop test: briefly touch the battery to the speaker leads. A clean pop and visible cone movement means the driver is alive.
Keep speaker wires separated, supported, and away from power runs. Touching or frayed wires can mute a channel or force the unit into protection. Secure terminals and strain-relieve long runs to avoid intermittent sound or shorts.
- Replace or repair any cabinet that reads open (infinite) or near zero (short) before you test amp again.
- When mixing drivers, calculate final impedance for series/parallel wiring so the amp sees the correct load.
- If resistance changes when you move the cable, suspect a bad speaker cable or a cracked jack solder joint.
| Check | Normal result | Action |
|---|---|---|
| Driver resistance | 3–14 ohms | OK to proceed with power tests |
| 9V battery pop | Clean pop, cone moves | Driver confirmed alive |
| Open or short reading | Infinite or ~0 ohms | Repair/replace cabinet before powering amp |
| Cable movement changes reading | Reading varies | Replace speaker cable or fix jack solder |
Troubleshooting by amp type: tube amps and car amps
Before you probe further, pick the correct workflow for the gear you have—tube rigs and car units need different steps.
Tube amp path
Confirm filaments glow. A lit power indicator usually means the mains fuse is OK. Check every tube; some designs wire filaments in series so one dark tube can stop several.
Swap preamp tubes one at a time with a known-good tube. This often restores a dead stage without more invasive work. Output tube faults commonly blow a fuse and show other signs.
Speaker jacks and molded plugs
Inspect jacks and molded speaker plugs; they go open more often than you think. Clean or replace bad plugs before assuming the electronics are at fault.
Car amp path
Verify 12–14.4V at the battery and ~11–14V at the remote turn-on. Keep the ground wire short to bare metal and clear the unit’s vents.
- If the protect light comes on and the light stays, cool the unit and test loads.
- Check wiring gauge and tightness of power wires and ground connections to avoid voltage sag.
- Evaluate alternator health and consider a reservoir capacitor for heavy bass peaks.
| Check | Why | Action |
|---|---|---|
| Filaments | Series failures hide | Confirm glow, swap preamp tubes |
| Speaker plugs | Open circuits common | Inspect/replace molded plugs |
| Car power | Voltage sag/protect mode | Measure battery/remote, secure ground |
Make sure you give heat faults time to cool and record results. Use your experience and notes to decide when bench service is needed.
Conclusion
,
Close your session by confirming power, grounds, and a simple signal path—this saves time later. Make sure you note how the amp and speakers behaved when you first powered up; clear symptoms point you to the right first test.
Use a multimeter early to verify 12–14.4V, the remote turn-on, and continuity. Test amp outputs with a light load, swap known-good cables, and check speaker resistance in the 3–14 ohm range to rule out common faults.
Keep wiring tidy, secure loose wires, and watch for repeated blown fuse events or any burning smell. Those times mean you may need professional service. With these tips and steady notes, your experience will make future fixes faster and protect your equipment.


