Your receiver sits at the heart of a home theater, handling audio and video from TVs, Blu‑ray players, game consoles, and streamers. Modern units add Bluetooth, Wi‑Fi, room correction, and more, but those extra components raise the chance of common problems.
This short guide shows clear troubleshooting steps you can try today. Start with basics: confirm the outlet, swap remote batteries, check inputs, reseat HDMI and speaker wires, and verify ventilation. These quick actions often restore sound or picture without calling a tech.
The article walks you through safe, practical actions for no sound, no picture, remote failures, Bluetooth drops, and overheating. Follow a simple signal-path approach: source, cables, receiver, then speakers or display.
Expect small, repeatable steps that clarify when to update firmware, adjust lip‑sync, or perform a factory reset per the manual. You’ll learn what a unit does, why each check matters, and when to seek professional help.
Understand Your AV Receiver Before You Troubleshoot
Start by learning what your receiver does and how signals travel from sources to speakers and screens. A receiver accepts audio and video from radios, Blu‑ray players, game consoles, streamers, and other source devices. It processes audio formats, amplifies channels, and passes video to a TV or projector.
Know the main components. Modern units combine preamp, equalizer, and power amp functions and often support five or more channels for surround sound. Label inputs and keep a photo of the current setup so you can restore settings if needed.

Follow a simple signal map: the source sends a digital or analog signal to the receiver, the receiver decodes formats like Dolby or DTS, amplifies audio, and routes video through HDMI. Good connections and certified cables matter for clean audio and reliable video.
Respect safety and setup. Use a grounded outlet or surge protector, check voltage compatibility for your model, and keep vents clear to avoid overheating. Consult the manual for model‑specific inputs, speaker size and crossover, remote procedures, and room‑correction steps.
- Label HDMI and legacy connections to confirm the correct input.
- Terminate speaker cables cleanly to avoid shorts.
- Use the manual for resets, calibration, and model‑specific notes.
Step-by-Step Troubleshooting to fix av-receivers
A stepwise check of power, controls, and connections often pinpoints the issue fast. Start at the wall and work toward the speakers so you can isolate the fault.
Power and startup. Verify the outlet with a known device and ensure the rear receiver power switch is on. If a breaker tripped, reset it and wait 15–20 minutes before powering the unit again.
Remote and controls. Replace batteries, confirm IR line‑of‑sight, and follow your manual’s remote reset procedure if buttons stay unresponsive.

Connections and cables. Reseat HDMI at source and receiver, inspect cables for damage, and secure speaker wires with correct polarity to avoid distortion or protection mode.
Audio and video checks. For no sound, confirm input, mute, and levels, and test another source. For no picture, select the exact HDMI input and try a better cable. Update firmware for Bluetooth or network problems and re-pair devices.
- Reduce output or improve airflow if the chassis runs hot; keep vents clear.
- Swap speaker leads to isolate channel dropouts; look for frayed strands that can short a channel.
- As a last resort, back up settings and perform a factory reset per the manual.
Targeted fixes by model, source, and room conditions
Pinpointing whether the issue lives in your model, the player, or the room saves time and cost. Start with the factory manual for model‑specific reset steps and speaker setup. Use the manual to set speaker size, crossover, distances, and level so imaging and bass behave as intended.
Use the factory manual
Follow model procedures exactly. Run the built‑in room correction and apply the recommended calibration. If menus freeze, use the model’s reset routine from the manual and then re‑run calibration to remove distortion or imbalance.
Source and signal integrity
Check your player settings: set Blu‑ray and consoles to compatible outputs (PCM/bitstream, resolution, refresh). Swap in certified HDMI cables and test direct connections to ensure a stable HDMI handshake and clean signal.
Repair or replacement
If recurring shutdowns, audible hum, or error codes persist after manual resets, contact support. Gather serial number, proof of purchase, and use the manufacturer’s RMA process. Decide on repair versus replacement by comparing repair estimates to the cost of a newer receiver.
- Quick tests: try another input, known‑good speakers, or a different player to isolate the fault.
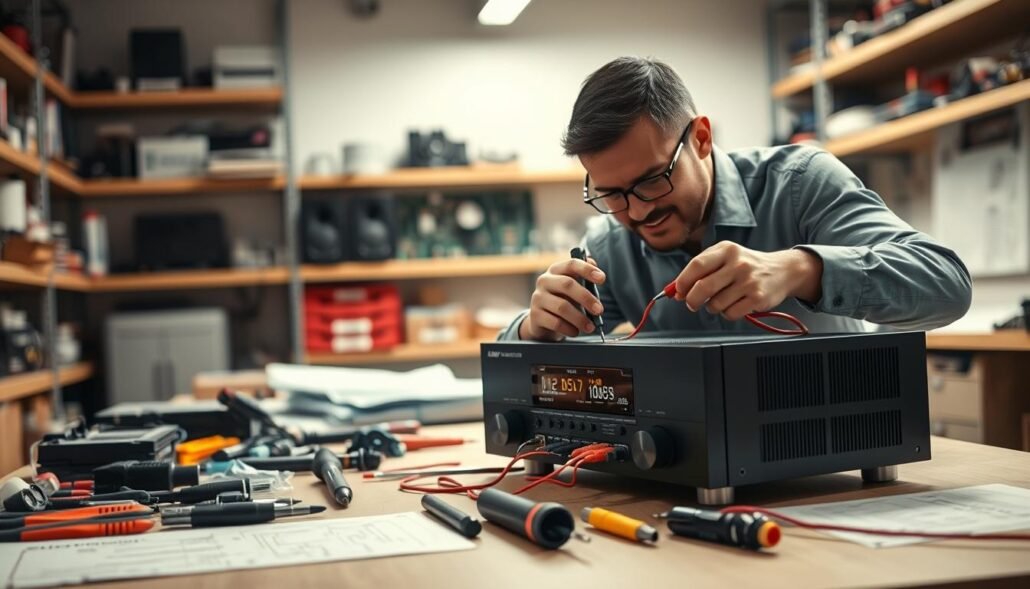
- Safe limits: replace external cables and speakers; do not open the chassis—leave board work to a qualified tech.
| Issue | Likely area | Action | When to call |
|---|---|---|---|
| No audio on one channel | Speaker or wiring | Swap leads, check polarity, test another speaker | If channel stays dead after swaps |
| Intermittent picture | Source, cables, or HDMI board | Use certified HDMI, test direct, change player output | If errors persist across sources |
| Frequent shutdowns | Power supply or internal board | Check ventilation, inspect outlet, verify manual reset | When hum, smoke, or repeated faults occur |
For help setting up a room or confirming speaker layout, see our guide on how to set up a home.
Conclusion
Finish your diagnostic work by verifying one change at a time so you pinpoint the real cause. Start with the simplest steps: confirm the active input, check remote mute and source, and ensure the receiver has steady power before deeper troubleshooting.
Reseat HDMI and tidy speaker wires to remove intermittent loss, reversed polarity, or distortion. Test with known‑good speakers or a direct source to separate audio and video faults from wiring or cable issues.
Keep firmware current, clear vents, and give the unit breathing room so thermal or supply limits do not mute speakers mid‑movie at home. Document settings, allow time after power events, then re‑test before a factory reset.
When problems persist, escalate to support. Use the method here—trace signal, isolate variables, and change one thing at a time—to restore clear sound and stable operation without chasing unrelated stuff.


