This short buying guide will help you focus on the few features that truly affect daily use. An AV receiver acts as the command center for a home theater system, routing HDMI signals, switching sources, decoding surround, and driving speakers.
Compared with soundbars, a receiver plus separate speakers delivers fuller, more immersive sound for movies and music in larger rooms. Modern units handle HDMI, eARC, HDR formats, Dolby Atmos, and gamer-friendly HDMI 2.1 features like 4K/120 and VRR.
Expect wireless conveniences such as Wi‑Fi, AirPlay, Chromecast built‑in, and Bluetooth for easy music playback from phones. Key choices include how many channels you need, how much power is enough, what inputs and pre-outs you want, and where to place the unit for proper ventilation and calibration.
Read on to cut through marketing language and make confident decisions about the components that matter for a reliable, long‑lasting audio video system at home.
Start Here: What an AV Receiver Does for Your Home Theater
Your receiver is the traffic controller that routes video and audio from all your devices to the right place. Sources like streaming boxes, game consoles, and Blu‑ray players connect via HDMI. The unit performs decoding and processing, sends video to the TV, and delivers amplified channels to each speaker for consistent, room‑filling playback.
The typical setup begins at 5.1 channels; many receivers include five or more built‑in amplifiers to drive front, center, and surround speakers. Higher channel counts add back surrounds and height channels for more realistic surround sound and scale.
Compared with a single soundbar, a matched receiver and speaker array gives clearer channel separation, stronger bass headroom, and better dialog intelligibility. Modern receivers also act as network hubs, offering AirPlay, Bluetooth, and Chromecast built‑in so everyday streaming and wireless playback are simple.
- Centralized switching keeps daily source switching seamless with one remote or app.
- Format flexibility supports legacy Dolby Digital up to Atmos and DTS:X as content evolves.
- Room reach—a well‑matched receiver and speakers fill open spaces more evenly than a lone bar.
Quick Buyer’s Cheat Sheet for the Present
Begin with a quick inventory: list your TV, speakers, and every source you plan to use. Match components to the room so you get the right scale and power without guesswork.
Match your components: TV, speakers, sources, and room
Take stock of speakers’ impedance and sensitivity and make sure they pair with the receiver’s output. Note the number of devices you connect today and where they sit in your room.
Minimum must-haves: 4K switching, eARC, and enough HDMI inputs
Almost every device uses HDMI, so choose a receiver with at least one more hdmi inputs than you currently need. Prioritize true 4K switching and HDR passthrough (HDR10, Dolby Vision, HLG).
Favor eARC so a compatible TV can send lossless Atmos back when sources are plugged into the TV for features like 4K/120 and VRR.
Plan ahead: channels today, expansion tomorrow
Pick the right channels for your current speakers and room, but plan for expansion. Look for pre-outs if you might add an external amp later.
- Keep mind your streaming ecosystem (AirPlay, Chromecast, HEOS).
- Verify ventilation and cabinet fit to avoid thermal issues.
av-receivers buying tips: Connectivity and HDMI Inputs to Prioritize
Start by listing every device that will plug into the receiver and include planned upgrades. Count consoles, streamers, cable boxes, and disc players so you know the exact number of ports required.
Most modern gear uses hdmi, so choose a unit with at least one extra hdmi inputs beyond your current needs. Receivers often stay in service five years or more, and onboard headroom saves hassle later.
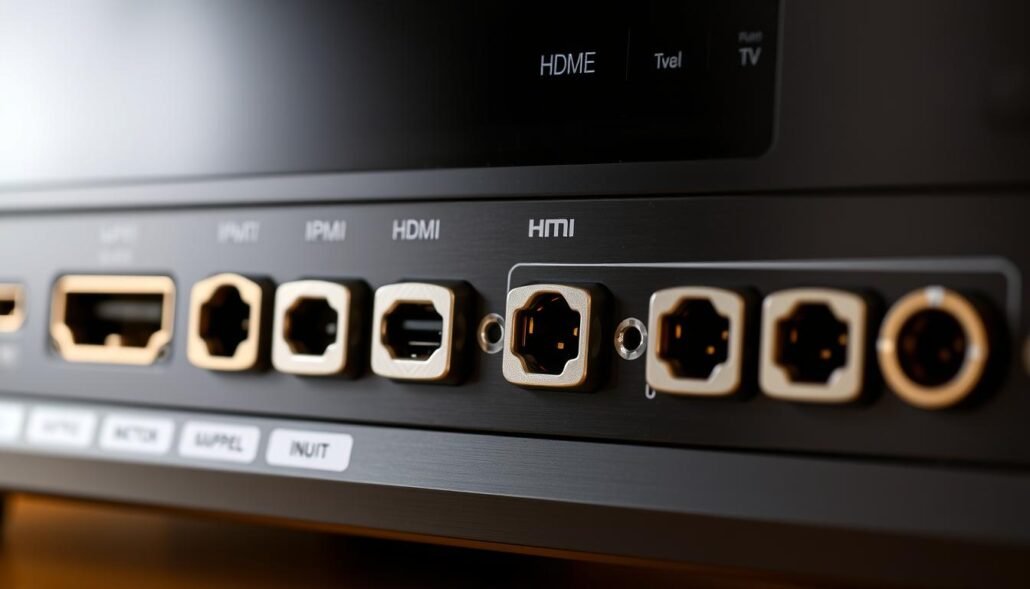
If your TV supports eARC, you can plug some sources into the TV and use it for switching, sending lossless audio back to the receiver. Still, extra built‑in inputs keep setups simpler and reduce the need for another device in the rack.
- Make a short inventory and make sure the receiver has one spare input for future gear.
- Prefer full‑bandwidth HDMI on every port to avoid compatibility headaches when adding a new source.
- An external switcher works, but it adds another device, more cabling, and remote complexity—so plan for headroom first.
- Verify the HDMI output supports eARC for Atmos and that each input matches HDR/bandwidth needs to streamline daily use.
Video Standards That Matter: 4K, 8K, HDMI 2.1, HDR, and eARC
Video bandwidth and HDMI capability determine whether your gear performs at its best. Check the chain—source, receiver, and TV—so one device doesn’t limit the others.
HDMI 2.1 essentials for gamers: 4K/120, VRR, and workarounds
If you game at 4K/120 with VRR on Xbox Series X/S or PS5, HDMI 2.1 matters most. When a receiver lacks HDMI 2.1, plug consoles straight into the TV and use eARC to send lossless audio back to the receiver.
eARC for lossless Atmos from the TV back to your receiver
eARC preserves lossless Dolby Atmos from TV apps or devices routed to the TV. This workaround keeps immersive audio while letting high‑bandwidth video flow directly to the screen.
Future‑proofing HDR: HDR10, Dolby Vision, and HLG passthrough
Prioritize HDR10, Dolby Vision, and HLG passthrough so streams and discs display correctly. Confirm the receiver’s outputs and the TV accept those formats to avoid downgraded picture quality.
Buying older models? Look for HDMI 2.0a and HDCP 2.2
If you consider an older unit, make sure it supports HDMI 2.0a and HDCP 2.2 to pass protected 4K HDR content. Note that 2024 models fixed earlier 4K/120 pass‑through bugs found in some first‑wave 8K designs.
- Tip: Map which input handles which features so you avoid accidental mis‑plugs when rearranging gear.
Channels and Formats: Building the Right Surround Sound Stage
Choosing the right channel layout shapes how effects move around the room and how natural dialog and ambiance feel in your theater. Match the number of channels to room size, seating distance, and your willingness to add ceiling or up‑firing speakers.
From 5.1 to 9.1 and beyond: when extra speakers pay off
Start with a 5.1 setup for small to mid rooms; it delivers the biggest jump over stereo with low complexity.
Add 7.1 when seating sits far from the rear wall to tighten rear imaging and make surrounds more distinct.
Move to 9.1 or larger only if you can place ceiling or up‑firing modules and want a true vertical layer above listeners.
Dolby Atmos and DTS:X: what they add and when you’ll notice
Many receivers decode both Dolby Atmos and DTS:X to provide height cues and more precise placement.
If you watch blockbuster films or premium streaming mixes, Atmos adds an overhead dimension that enhances effects and immersion.
For casual TV and most streaming, 5.1 still delivers most of the perceptible benefit; the jump from stereo to surround sound is larger than from 5.1 to Atmos.
- Verify your receiver’s amplification can drive the channels you plan to use now and later.
- Prefer matched speakers for the front stage to preserve tonal consistency at the screen.
- Use up‑firing modules when ceiling work isn’t practical to simulate height without drywall cuts.
- Keep layouts symmetrical and aim speakers correctly—placement often beats adding more speakers haphazardly.
- Choose flexible receivers that let you reassign amps for height or a second zone as the system evolves.
Receiver Power and Sound Quality: Watts, THD, and Real‑World Loudness
Power ratings tell only part of the story. Many manufacturers quote a single‑channel, 1 kHz figure that looks impressive but does not reflect full‑bandwidth performance. Look for specs that list 20 Hz–20 kHz at
Why watt ratings can mislead and how to read specs
One‑channel, 1 kHz tests inflate numbers because they ignore real listening conditions. All‑channels‑driven ratings show how a receiver performs when every speaker is active.
A useful rule: expect lower power when all channels run. That is normal and doesn’t mean a unit is flawed—just read the fine print.
All‑channels‑driven, impedance, and distortion that actually matters
Check impedance support. Many models handle 6–8 ohm loads well but struggle with 4 ohm speakers. A receiver that shuts down or overheats on low loads is not stable.
- Real output matters more than peak watts—aim for roughly 75–125 W/ch for most rooms.
- You need about a 2:1 increase in watts to notice a loudness difference; small changes near 100 W/ch are often irrelevant.
- Prioritize low distortion (
In practice, clean peaks and wide dynamic range improve perceived sound quality more than chasing bigger numbers. Set gains and crossover points smartly to avoid clipping and preserve clarity.
Inputs, Outputs, and Expandability: Get the Right I/O Mix
A smart I/O mix keeps your system flexible as new formats and sources appear. Map every device and plan for one spare HDMI so you don’t run out of ports.
Check legacy connections. If you spin vinyl, confirm a dedicated phono input or budget for an external preamp. Keep optical and coaxial digital ports for older disc players and legacy devices.
Pre‑outs and multiroom realities
Look for full channel pre‑outs if you may add external amplification for front LCR or height channels later. Pre‑outs preserve flexibility and let you upgrade selectively without replacing the entire receiver.
- Map components and pick a unit with grouped HDMI inputs/outputs and sturdy binding posts for cleaner cable runs.
- Keep at least one spare HDMI and an eARC‑capable output for TV app audio back to the receiver.
- Plan second‑zone use: many models need analog inputs for zone 2 and require speaker wiring and app control to work smoothly.
- Favor models with firmware updates so HDMI and streaming features remain compatible over time.
Wireless, Streaming, and Control: Wi‑Fi, AirPlay, Bluetooth, and Voice
Wireless features turn a receiver into an easy-to-use music hub across your home. Choose the streaming method that fits how you listen and where you listen.
AirPlay, Chromecast built‑in, and Bluetooth: quality and use cases
Bluetooth works with almost every phone and is handy for quick guest playback, but fidelity drops at range. Use Bluetooth for casual listening or when compatibility matters most.
AirPlay delivers lossless, CD‑quality streams for Apple devices and adds multiroom with AirPlay 2. Chromecast built‑in supports high‑res audio up to 24‑bit/96 kHz and works across many apps and devices.
Multiroom platforms and second‑zone realities
Platforms like HEOS and MusicCast sync music across rooms without wiring. They use the receiver’s app to manage zones and playlists.
Note: zone‑2 speaker outputs are not the same as platform multiroom. Many receivers cannot forward HDMI digital sources to zone 2, so plan sources accordingly.
App control and voice assistants for everyday convenience
Manufacturer apps let you pick sources, change volume, and manage zones from any device on the network. Favor receivers that auto‑wake and switch when you cast or AirPlay.
Voice control via Google Assistant or Alexa adds hands‑free operation. Use voice to start music, change inputs, or power the unit as part of your smart home routine.
- Pick Bluetooth for compatibility, AirPlay for Apple lossless, Chromecast for higher‑res streaming.
- Combine Ethernet for critical zones and Wi‑Fi for convenience in additional rooms.
- Name zones clearly and allow guest pairing for easy access.
| Method | Best use | Max quality |
|---|---|---|
| Bluetooth | Quick guest playback, wide device support | SBC/AAC (variable) |
| AirPlay 2 | Apple ecosystem, multiroom | Lossless CD quality |
| Chromecast built‑in | Cross‑platform, high‑res streaming | Up to 24‑bit/96 kHz |
| HEOS / MusicCast | App‑based whole‑home playback | Depends on source quality |
Setup, Calibration, and Room Factors
A careful setup and smart calibration make the difference between muddled bass and theater‑grade playback in your home system.
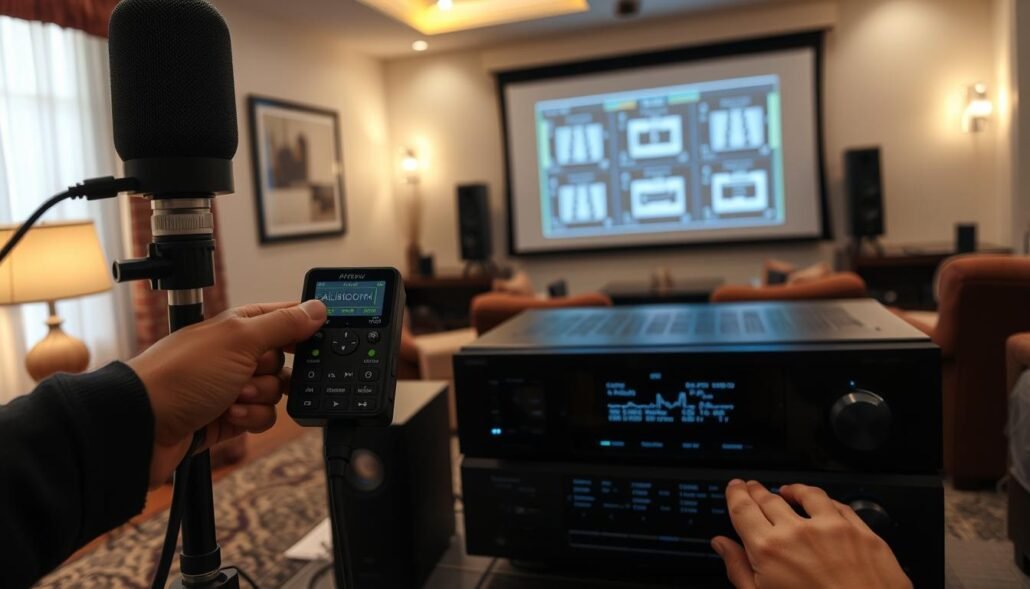
Run the receiver’s auto calibration to get a baseline. Many systems mis‑set subwoofer level, so verify distances, trims, and crossover points by ear and with a mic. If your unit offers advanced room correction like Dirac Live, audition before/after to choose what truly improves the listening space.
Practical checks and placement
- Measure seating distances and confirm delay settings so timing cues stay intact.
- Avoid toggling small speakers to “Large”; an ~80 Hz crossover usually yields cleaner bass.
- Re‑check calibration after moving furniture or adding rugs—changes in the room alter frequency balance.
- Document final settings so you can restore them after firmware updates or accidental changes.
- Route cables neatly to reduce hum and keep future access easy.
Ventilation and size
Receivers run warm. Allow about 6 inches of top clearance and roughly 20 inches of depth (including cabling). If cabinets are tight, fit an active fan kit to avoid thermal throttling or protection shutdowns.
Conclusion
Finish your shortlist by prioritizing compatibility, honest power specs, and flexible expansion paths.
Choose a receiver that has the hdmi inputs you need plus one spare. If the unit lacks HDMI 2.1, route modern consoles to the TV and use eARC to keep lossless Atmos while preserving high‑bandwidth video.
Prioritize HDR passthrough (HDR10, Dolby Vision, HLG) and real‑world power figures (20 Hz–20 kHz, low THD). Look for pre‑outs so you can add amplification later without replacing the whole system.
Run auto calibration, then verify sub levels and distances by ear. Good placement, reliable ventilation, and a clear app or platform for music and multiroom play often make a bigger difference than chasing extra channels.
Use this guide to pick a receiver that fits your components, scales with your speakers, and keeps your home theater system sounding great for years.
