Ready to stop guessing and start measuring? This friendly how-to guide shows you how to assess, measure, and improve amplifier performance and quality in real home audio systems.
We draw on lab work from Audioholics and design notes from REL Acoustics to link test metrics to what you hear. Expect clear steps for verifying claims, testing output and distortion, and planning power so you get clean headroom without wasted energy.
Learn the big picture: frequency response, THD/IMD, signal-to-noise, crosstalk, damping, and three core power tests. You’ll also see how idle draw and efficiency affect bills and reliability, and when Class A/B or Class D makes more sense in your systems.
Use this playbook to set goals, measure with repeatable checks, and confirm upgrades with simple listening tests. By the end, you’ll know when to upgrade gear and how to prove the gains in your room.
Understand the basics: how amplifiers shape sound, power, and quality
Picture the signal’s journey from input jack to speaker terminals—each stage matters.
The input stage sets gain and the noise baseline. The driver stage then conditions that waveform. Finally, the output stage supplies current and voltage to the speaker load.
Key components
Power supply and reservoir capacitors convert AC to clean DC rails. They store charge so the device can deliver steady output during peaks without sagging.
Transistors and tubes are the active devices. Tubes often produce even-order harmonics while solid state aims to minimize coloration. Both depend on topology and biasing for low distortion.
Thermal and circuit details
Heat sinks and thermal paths keep operating temperatures stable. Stable heat reduces drift and helps preserve linearity over long listening sessions.
Good circuits show ruler-flat frequency response across the 20 Hz–20 kHz audible range with
Quick reference
- Input: sets gain and noise
- Driver: shapes waveform and impedance
- Output: provides current, voltage, and output control
| Component | Role | What to watch for |
|---|---|---|
| Power supply | DC rails, reservoir charge | Low ripple, strong transient reserve |
| Capacitors | Filtering and coupling | Quality affects transient response |
| Output stage | Drive speakers | Topology (push-pull), biasing, stability |
| Transistors / Tube | Signal gain | Harmonic profile and linearity |
User intent first: set goals for better sound quality and reliable performance
Start by defining what ‘better sound’ means for your ears and your room.
Decide your target. Do you want louder output without strain, a lower noise floor, or tighter bass? Each goal points to different gear and setup choices.
Translate room size and seating into power targets. Larger rooms and farther seats need more clean power and headroom to reach desired levels.
Room, speakers, and listening habits
- Consider speaker sensitivity and minimum impedance to estimate real effort needed from your amp.
- Use bass management; a powered sub eases the main channels and improves clarity.
- If you listen quietly at night, prioritize a low noise floor and even channel balance at low levels.
| Goal | Key factor | Action |
|---|---|---|
| Louder without distortion | Headroom & power | Choose amp with 20–30% more continuous power than needed |
| Cleaner low-level detail | Noise floor & gain structure | Match preamp levels and use balanced inputs |
| Tighter bass | Bass management & room | Add a powered sub and adjust crossover |
Measure before you tweak: a practical checklist from lab-grade tests
Before you change cables or settings, run a short, repeatable test suite to separate real faults from hearsay.
Frequency response and gain
Verify flat frequency from 20 Hz–20 kHz with <0.5 dB variation at 8 and 4 ohms. Confirm the amp hits rated power at ≤2 Vrms input so the preamp won’t clip.
THD, IMD, and FFT
Treat 0.1% THD+N as your fidelity firewall. Run THD at 1 W and near rated output, then inspect the FFT for benign harmonic distortion and any 50/60 Hz hum.
SNR and crosstalk
Demand SNR ≥80 dB @ 1 W to protect low-level detail. Check channel isolation (≥60 dB @ 10 kHz) and do all-to-one tests for multichannel setups.
Output impedance, damping, and power tests
Measure output impedance across the band; aim for ≤100 mΩ and damping factor ≥50. Use CFP-BW, a 1 kHz Psweep, and Dynamic Power (CEA-2006) to compare real headroom and power output.
| Test | Target | Why it matters |
|---|---|---|
| Frequency | Flat 20–20kHz <0.5 dB | Neutral tonal balance |
| THD+N | ≤0.1% | Clean signal at listening levels |
| SNR / Crosstalk | ≥80 dB / ≥60 dB | Quiet background; clear imaging |
Optimize power and efficiency without sacrificing sound
Smart electrical choices help you keep heat, bills, and wear under control while preserving sound quality.
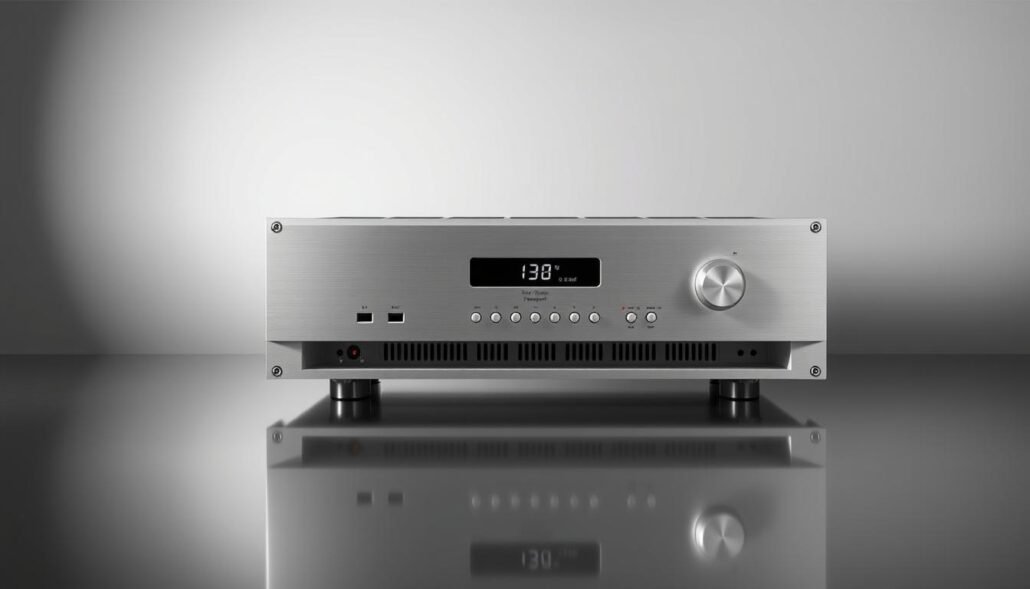
Bias, idle draw, and warm-up
Trim bias thoughtfully: small reductions cut idle heat and lower the idle watt draw with little audible change in many home setups.
REL shows typical Class A/B at ~25% efficiency and idle from ~25 W (100 W design) to ~125 W (500 W). Some REL models hit ~7–9 W idle by lowering bias.
Standby and inrush
EU 0.5 W standby limits can act like an off switch and increase inrush stress on large capacitor banks.
Protect the power supply with soft-start or inrush limiting to extend component life and avoid voltage sag during startup.
Class A/B vs Class D
Class A/B keeps a favored sonic character, while Class D gives far better efficiency and lower heat for the same amplifier power.
Watch output control in the bass: a strong supply rail and low output impedance keep tight low-frequency transients.
| Topology | Idle (typical) | Key trade-off |
|---|---|---|
| Class A/B | 25–125 watt | Warm sound, higher heat |
| Class D | <10 watt (typical) | High efficiency, lower heat |
| Design tips | Soft-start | Protects caps and limits inrush |
Reduce distortion and noise at the source, not the speaker
Clean inputs and solid grounding cut audible problems faster than swapping speakers. Start by looking where signals enter the system and follow wiring paths to the preamp and power stages.
Match input levels to prevent clipping
Set gain so the preamp never clips before the amp reaches full power. Aim for full output at ≤2 Vrms input so transients stay clean. Monitor levels and leave headroom for peaks.
Grounding, cables, and placement
Tame ground loops with single-point grounding and short signal runs. Keep interconnects away from power cords and transformers. Use shielded cables and secure connectors to cut hum, buzz, and HF hash.
- Use FFT to find 50/60 Hz hum and harmonics, then reroute or re-ground.
- Avoid coil-up excess cable and separate digital radios from analog front ends to reduce RF ingress.
Thermal management and circuit stability
Keep temperature steady so bias and drift stay in check. Stable thermal conditions lower distortion and protect components over time.
| Action | Why it helps | Quick check |
|---|---|---|
| Proper gain structure | Prevents compression and clipping | Full output ≤2 Vrms |
| Single-point grounding | Reduces hum and crosstalk | Listen for hum; check FFT |
| Good ventilation | Stabilizes bias and reduces drift | Measure temps during long plays |
amplifier performance in the real world: matching speakers, impedance, and power
Real-room listening shows how gear and space interact, not just bench numbers. Match gear to the room and your listening habits to get steady output and low noise.
Impedance matching: 8 vs 4 ohms, reactive loads, and stability
Audioholics tests at 8 and 4 ohms because some amps lose bandwidth into 4 ohms. Check stability and thermal behavior into low-impedance loads. A well-designed amp keeps frequency and output steady and avoids limiting.
Loudspeaker efficiency, room size, and bass management strategy
Match power output to speaker sensitivity and room size. Efficient speakers in small rooms need much less power to reach the same SPL.
Use bass management or a sub to remove deep bass from mains. This frees headroom and tightens midrange clarity.
Tube vs solid-state: distortion profile and maintenance load
Tube gear often adds even-order harmonics that some call warm. Solid state tends to run cooler and needs less upkeep.
Plan ventilation for low-impedance speakers or high SPLs. Tube setups need bias checks and occasional tube rolling; many solid-state amps are more “set-and-forget.”
| Topic | What to check | Why it matters |
|---|---|---|
| Impedance & reactive loads | Bandwidth at 8/4 Ω; phase shifts | Prevents tonal shifts and instability |
| Power & speaker sensitivity | Power output vs SPL needs | Avoids clipping and preserves headroom |
| Bass management | Use subs or filters | Reduces strain on mains, improves clarity |
Upgrade path and validation: when to replace, what to buy, how to test
Deciding when to upgrade starts with clear signs and repeatable tests that prove a change matters. Listen for clipping on loud passages, hiss at your seat, or apparent sag when tracks demand deep dynamics.
Set targets before shopping. Define minimum power output and headroom based on speaker sensitivity, room size, and preferred SPL peaks. Aim for a power amp that reaches full rated output at ≤2 Vrms input to avoid upstream clipping.
Selection criteria
Prioritize balanced and unbalanced inputs, trigger control, protection circuits, and easy integration with existing equipment.
Compare measured results, not glossy specs. Demand low THD (≤0.1%), strong SNR at 1 W, flat response, and solid damping and output impedance figures.
Post-upgrade validation
Repeat the standardized tests: CFP-BW, 1 kHz Psweep, Dynamic Power, SNR at 1 W, crosstalk, output impedance, damping factor, FFT/IMD.
Level-match and document before/after results with the same tracks. Tight channel matching and improved crosstalk usually yield clearer imaging and better center focus.
| What to check | Why it matters | Goal |
|---|---|---|
| Headroom & power | Prevents clipping | 20–30% more than needed |
| SNR & THD | Protects detail | SNR ≥80 dB; THD ≤0.1% |
| Idle draw & heat | Lifetime cost factor | Lower idle power, reliable cooling |
Conclusion
Close the loop: let lab numbers and listening checks point the way to better sound. Use measured amplifier performance as the map and your ears as the final judge.
Anchor decisions in tests—frequency, THD/IMD, SNR, crosstalk, damping, and real power output tell you what matters. Compare power amplifier options the same way every time.
Treat distortion, noise, and impedance interactions as solvable issues. Good circuits, proper grounding, and clear gain structure cut problems at the source and protect output integrity.
Balance design choices—Class A/B warmth or Class D efficiency—against your room, speakers, and budget. With repeatable checks and simple listening validation you’ll turn numbers into lasting sound quality and reliable audio gear.
